

Last updated October 31, 2026
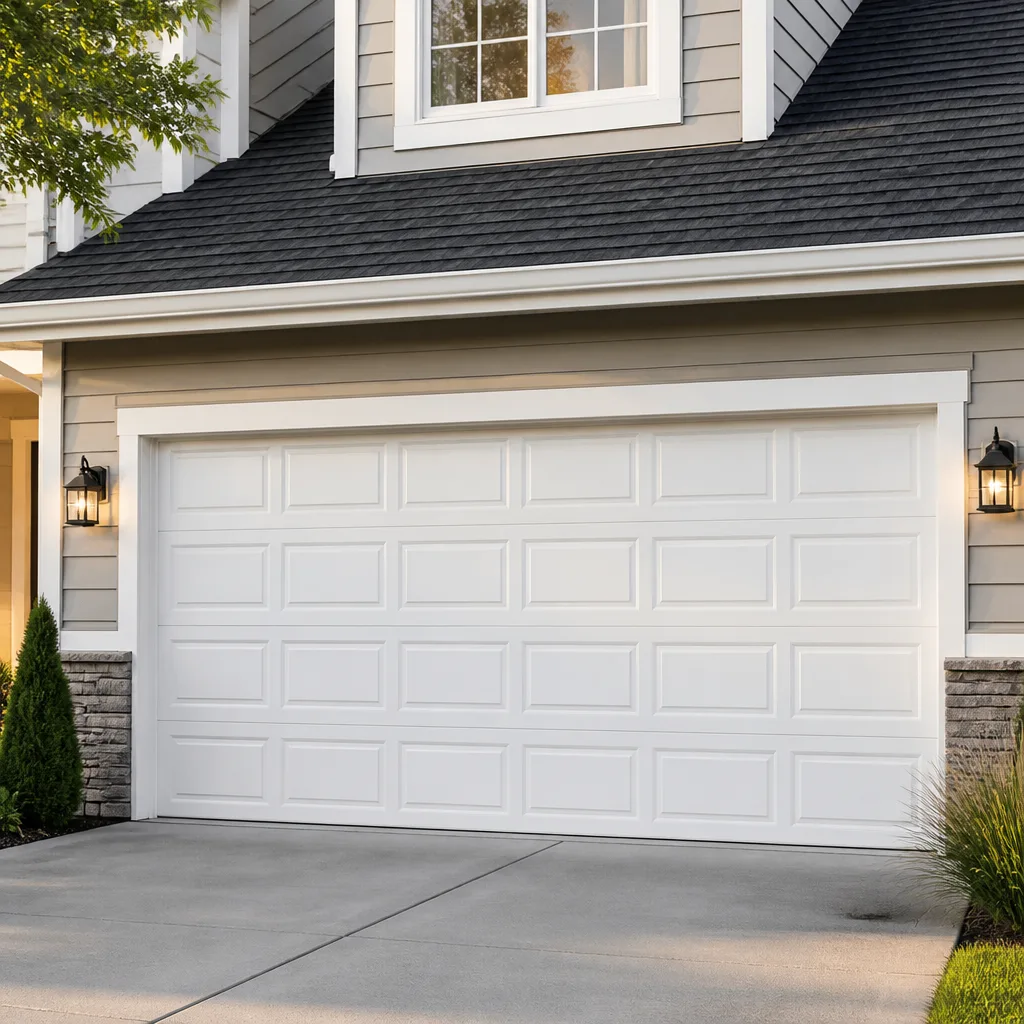 Raised-panel steel
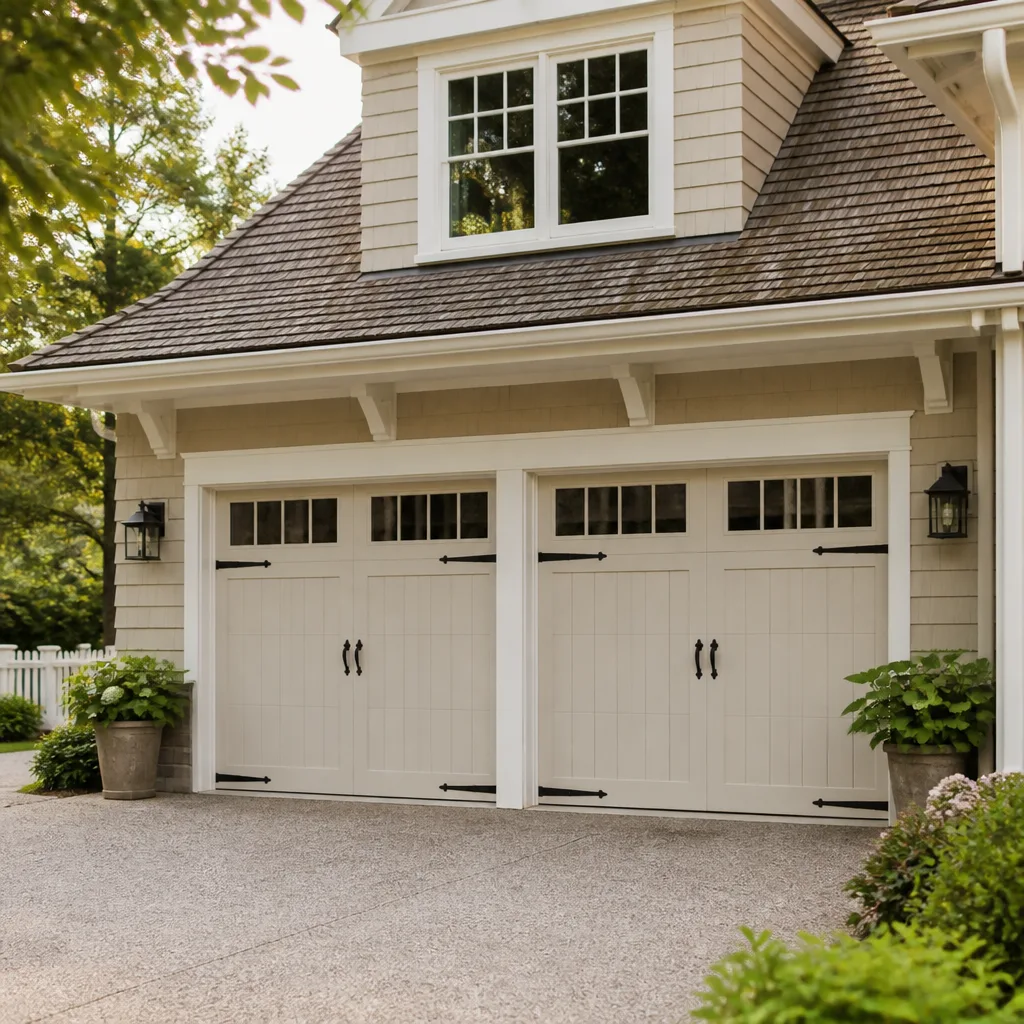 Carriage house
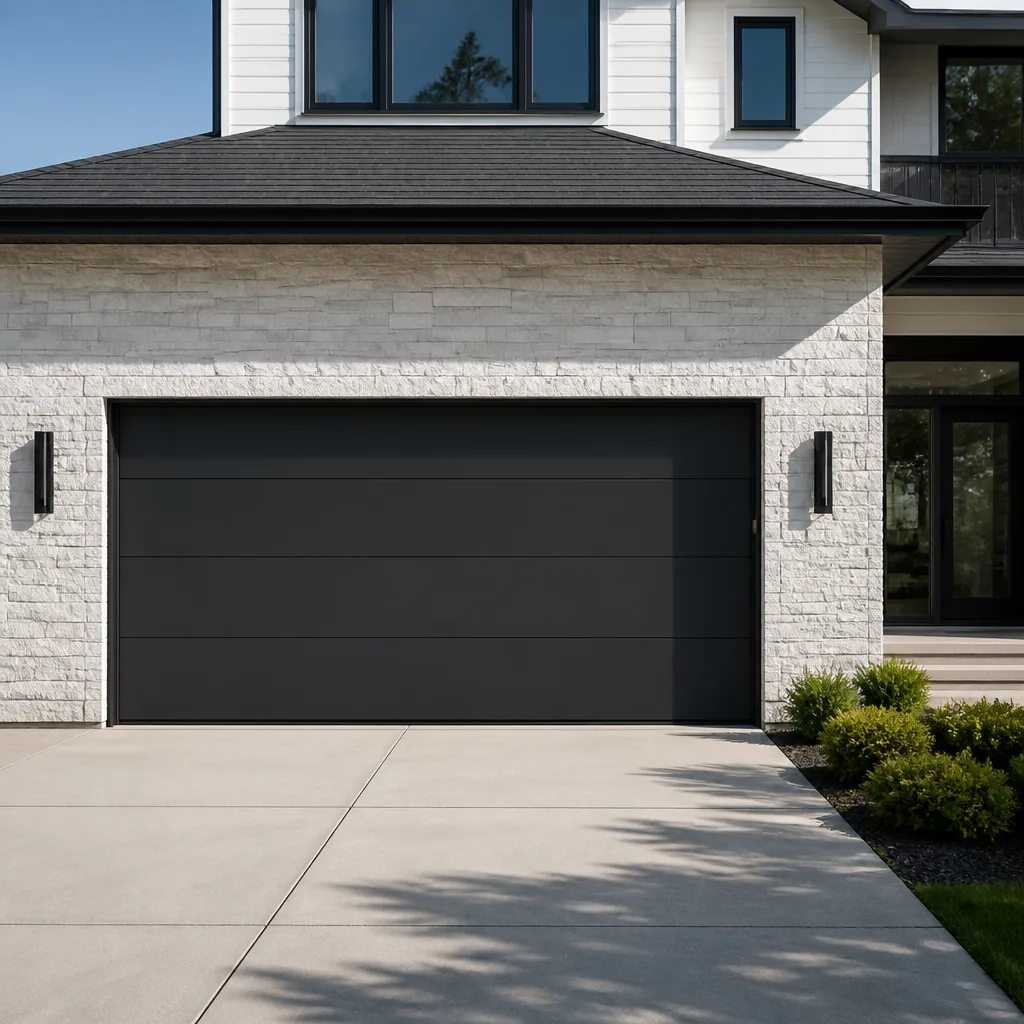 Modern flush
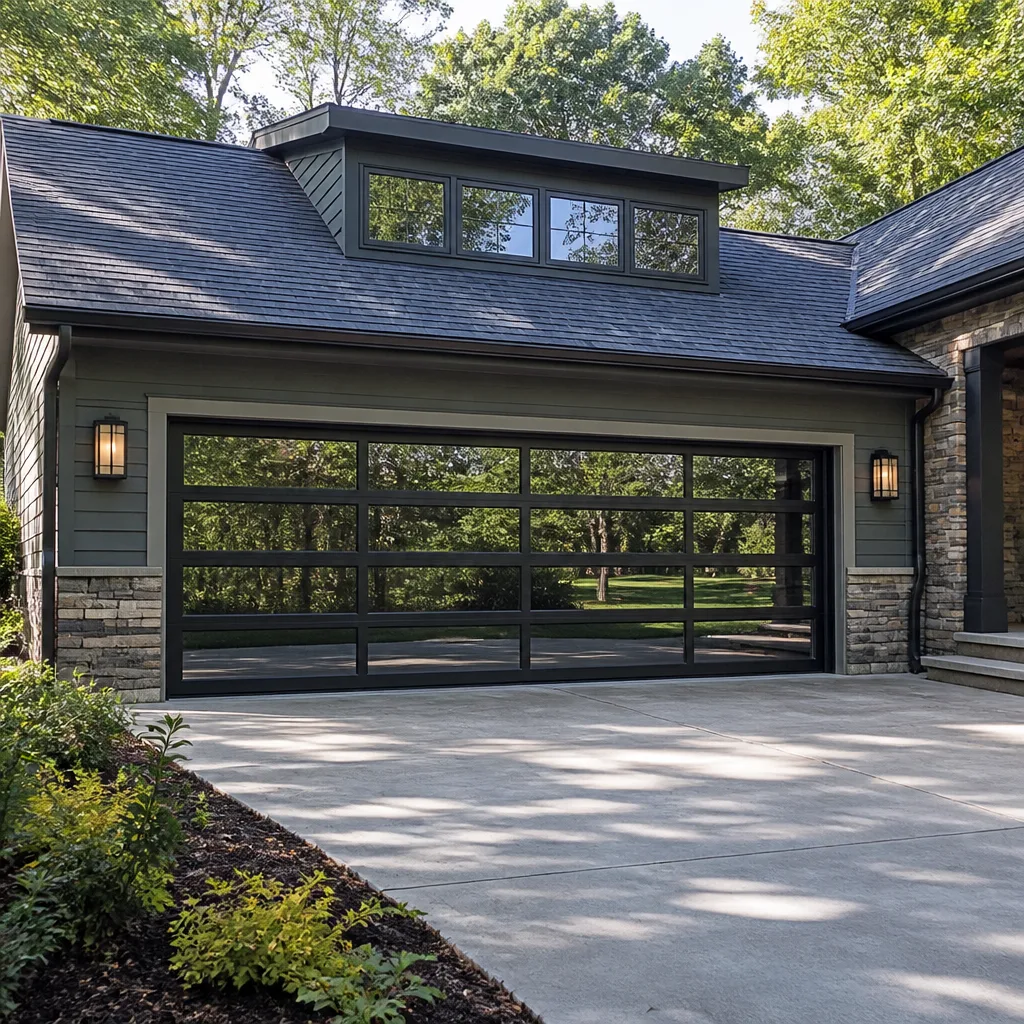 Full-view glass
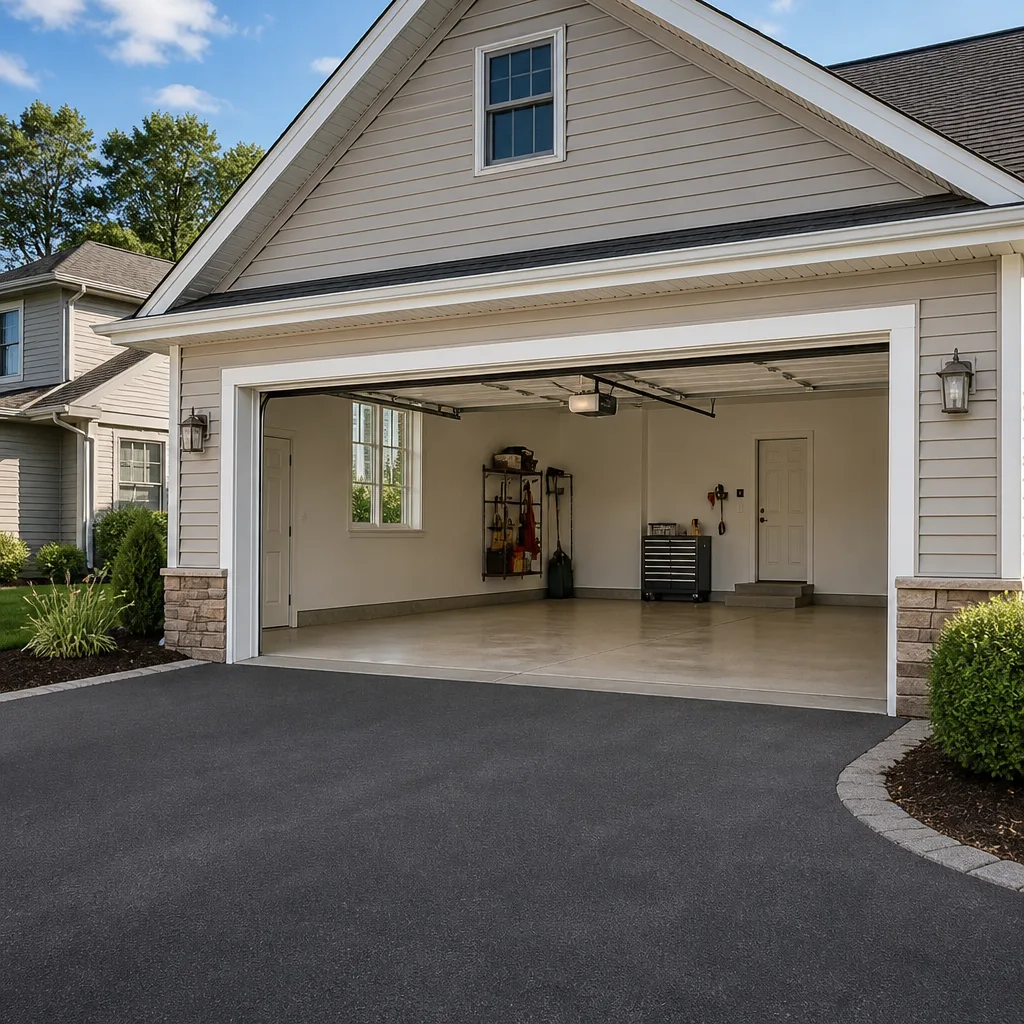 LiftMaster openers
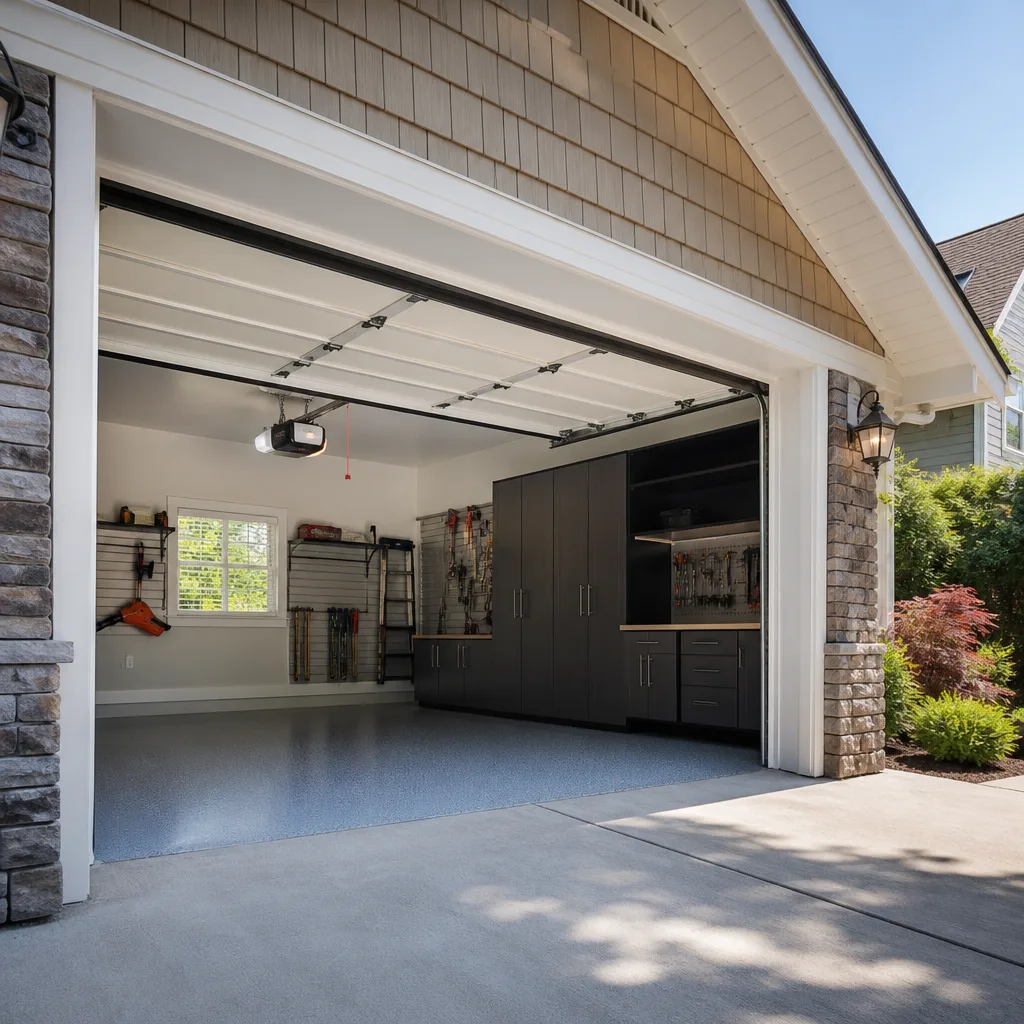 Chamberlain openers
Full 25-point door and opener safety check with every visit - springs, cables, rollers, tracks, and your LiftMaster or Chamberlain opener included
You get a price before we start. It does not change when the truck arrives.
Get your free estimateDIY vs Professional Garage Door: The Irvine Homeowner’s Decision Guide
A torsion spring on a double-wide garage door stores roughly 100 foot-pounds of torque when fully wound. That’s the rotational energy of a baseball bat swung at full force, concentrated into a coil of steel mounted inches above your head. And nearly every emergency room visit related to garage door DIY work in Orange County involves that one component. This guide walks through exactly which garage door tasks an Irvine homeowner can safely handle alone, which ones demand a trained technician, and what California law and your HOA have to say about the difference. By the end, you’ll know precisely where the line sits between smart maintenance and an expensive gamble.
Quick Answer
Lubrication, visual inspection, and the monthly manual-release balance check are DIY-safe for most Irvine homeowners. Spring replacement, cable work, track realignment, and opener motor repairs are not. The dividing line is stored mechanical energy: if the component you’re touching is under tension or torque, call a professional. Attempting torsion spring replacement yourself typically costs more than hiring a technician once you factor in the specialized tools, the failed first attempt that most novices experience, and the very real risk of a hospital bill.
Styles & brands we work with
Table of Contents
- Task-by-Task Decision Matrix: What’s Safe and What’s Not
- California Licensing Law and Your Liability as a Homeowner
- The Real Cost Comparison: DIY vs. Professional in Irvine
- Irvine HOA Warranty Requirements and Owner-Performed Repairs
- The One DIY Task Every Irvine Homeowner Should Do Monthly
- Why Torsion Springs Are the Line You Don’t Cross
- Garage Door Opener Repairs: What You Can and Can’t Do
- How Your Door’s Brand Affects the DIY Equation
Task-by-Task Decision Matrix: What’s Safe and What’s Not
The DIY vs. professional question isn’t binary. Some garage door work is genuinely owner-doable, some sits in a gray zone, and some should never be attempted without training. Here’s the honest breakdown we use when Irvine homeowners ask us what they can handle themselves.
DIY-Safe Tasks
- Lubrication: White lithium grease on the track, silicone spray on rollers and hinges, and a specific opener-chain lubricant on the drive rail. Anyone can do this with basic supplies from a hardware store. Do it twice a year in Irvine’s climate, which is dry enough that metal-on-metal contact accelerates wear faster than in coastal humidity.
- Visual inspection: Walk the track line, check roller wheels for flat spots, look for fraying on cables, and watch the door through a full open-close cycle. You’re not fixing anything, just noticing what needs attention before it fails.
- Weatherstripping replacement: The rubber strip along the bottom of the door slides out of its channel and a new one slides in. No tension, no torque, no risk.
- Manual release and balance check: Pull the red cord to disengage the opener, then lift the door halfway by hand. If it stays put, the springs are balanced. If it drops or climbs, call someone. This is a diagnostic task, not a repair, and it’s the single most useful monthly habit in this guide.
Professional-Only Tasks
- Torsion spring replacement: Covered in depth below. Non-negotiable professional territory.
- Extension spring replacement: Slightly less dangerous than torsion springs but still under high tension when the door is open. The safety cables that thread through them are the only thing preventing a snapped spring from becoming a projectile. Professional job.
- Cable replacement: The lift cables work in tandem with the springs and carry equal tension. If you touch them without unwinding the spring first, the door can drop and the cable drum can spin violently.
- Track realignment: Tracks are bolted to the wall and ceiling. When they’re out of square, the door binds, and the fix requires adjusting under load while the door is partially suspended. One wrong adjustment and the entire door can come off its rollers.
- Opener motor replacement: The motor itself rarely fails, but the gear assembly inside legacy Chamberlain and Craftsman units wears out. Opening that housing means working with a capacitor that holds a charge even when unplugged. Professional territory.
Gray Zone: Panel Dent Repair
A small dent in a steel panel can sometimes be worked out with a rubber mallet and a block of wood from the backside. This is DIY-possible for minor cosmetic damage on non-insulated doors. But there are two caveats. First, if the dent is on an insulated door, the foam core absorbs the mallet blow and you’ll just make a bigger dent. Second, if the dent is on a panel that bends while the door operates, the panel’s structural integrity is compromised and the door will eventually bind. For that, you need panel replacement, which is a garage door installation project, not a repair. In Irvine’s newer communities like Portola Springs and Great Park, most doors are insulated steel, which means most panel dents belong in the professional column.
California Licensing Law and Your Liability as a Homeowner
California Business and Professions Code Section 7028 requires any contractor performing work valued at $500 or more in labor and materials to hold a valid California Contractor’s State License Board (CSLB) license in the appropriate classification. For garage door work, that’s the C-61/D-28 classification, which covers garage door installation and repair specifically. What this means for an Irvine homeowner: if you hire someone unlicensed and the job exceeds $500, that person is operating illegally. If they get hurt on your property, your homeowner’s insurance may deny the claim because you hired an unlicensed worker. If they damage your door, you have limited recourse through the CSLB.
Now flip it: what happens when you do the work yourself and it goes wrong? Your homeowner’s insurance policy almost certainly excludes self-inflicted property damage during a repair attempt. If you puncture a torsion spring cone, the spring unwinds violently, and the winding bar goes through your drywall, that’s a claim your insurer will likely question. If you’re injured, your health insurance covers the medical costs, but you eat the deductible and the lost work time. And if your DIY repair later fails and the door falls on a family member or a neighbor’s child, your personal liability is on the line. That last scenario is why we draw such a hard line on spring work.
The practical threshold in Irvine, where single-family homes dominate and most garage doors are attached to living space, is this: if the repair involves a component under tension, a licensed professional is the only legally and personally defensible choice. For more on protecting your home, see our Garage Door Emergency Preparedness Guide for Irvine Homes. For everything else, the question is simply whether your time and frustration tolerance justify the attempt.
The Real Cost Comparison: DIY vs. Professional in Irvine
Here’s the math most DIY videos conveniently skip. A torsion spring replacement kit from a big-box retailer costs between $60 and $120 for a pair of springs, depending on wire gauge and inside diameter. But that’s not the whole bill. For a complete picture of what garage door work actually costs, read our Garage Door Cost Breakdown: The Irvine Homeowner’s Reference for 2026.
What DIY Actually Costs
- Spring kit: $60 to $120
- Winding bars: $25 to $40 for a pair of hardened steel bars. Using rebar or a screwdriver instead is how people lose fingers, and the proper bars are not in most Irvine garages.
- Other tools you may already own: socket set, adjustable wrench, ladder. Call it $0 to $50 if you need to buy anything.
- Your first attempt: Most first-time spring replacements take a homeowner four to eight hours. The cone sets in the wrong position, the spring binds, the door is now stuck halfway open, and you still need the repair done. At this point, many people call us anyway, which means your DIY savings is now a professional bill plus $100 in wasted parts and a full Saturday gone.
What a Professional Service Call Costs in Irvine
- Single torsion spring replacement: Typically falls in the $250 to $400 range in Irvine’s market, including the spring and labor.
- Pair of torsion springs: $350 to $550, depending on door weight and spring cycle rating.
- Cable replacement: $180 to $300.
- Full balance and tune-up with spring replacement: $400 to $650, which includes adjustment of both springs, track realignment, roller inspection, and opener force-check.
The honest comparison: if you own the winding bars, have done this before, and know your door’s exact spring specs, DIY saves you money on this one repair. If you don’t own the bars and haven’t done this before, the cost gap closes fast. And if the first attempt fails, which is common, DIY costs more than calling a professional from the start. We’ve talked to more than a few Irvine homeowners who called us at 8pm with a door stuck open and a spring half-installed after a “beginner-friendly” YouTube tutorial. The repair cost them more than if they’d made the first call.
Irvine HOA Warranty Requirements and Owner-Performed Repairs
Irvine is one of the most HOA-saturated cities in California. A substantial number of detached homes and nearly all attached housing in communities like Woodbury, Cypress Village, and Turtle Ridge fall under a homeowners association with architectural and maintenance standards. And here’s what most homeowners don’t realize: many Irvine HOAs have covenant language that voids a unit’s exterior-warranty coverage when owner-performed or unlicensed repairs damage common-area elements or shared structural components.
Garage doors in Irvine attached-housing communities frequently sit on the HOA’s maintenance matrix, especially when the garage faces a common driveway or alley. If you attempt a spring repair on a door that the HOA is responsible for, and the repair damages the panel finish or the door drops and warps the track, the HOA can charge the repair back to you as an owner-caused loss. That means you pay for the pro repair anyway, plus whatever the HOA assesses for the additional damage. We’ve seen this play out in several Irvine communities where the original builder warranty on the door required professional service records to remain valid.
The short version: before you attempt any garage door work beyond basic lubrication in an Irvine HOA property, pull your CC&Rs and check the maintenance responsibility matrix. If the door is listed as an HOA responsibility, don’t touch it beyond the owner-required items. Call the management company or a garage door repair company in Irvine that can provide the service documentation HOAs typically require for warranty claims.
The One DIY Task Every Irvine Homeowner Should Do Monthly
There’s a task that takes about 90 seconds, requires no tools, and catches most major garage door failures before they happen. Almost nobody does it. It’s the manual release and balance check, and every professional we know recommends it as part of a monthly routine.
How to Do the Monthly Balance Check
- Close the door completely.
- Pull the red emergency release cord hanging from the opener rail. This disengages the door from the opener carriage.
- Lift the door manually to the halfway point, roughly waist height.
- Let go of the door completely.
- Observe what the door does.
If the door stays at the halfway point without moving, your springs are balanced and doing their job. If the door drifts upward, the springs are over-wound or the door is too light for the spring set. If the door drops or slams downward, the springs are losing tension and nearing the end of their cycle life. Both drift directions are signals to schedule a service call before the spring fails outright. You can also run the door through a full cycle and listen for grinding, popping, or squealing sounds that indicate worn rollers or misaligned tracks.
In Irvine’s climate, the dry air is hard on roller bearings and hinge pins, so a monthly check catches wear before it becomes a failure. This is the single highest-value DIY task on this list because it’s free, it’s safe, and it prevents the exact scenario that forces expensive after-hours calls.
Why Torsion Springs Are the Line You Don’t Cross
Torsion springs sit on a shaft above the door opening, and they store all the energy needed to lift a 150-to-300-pound door. A standard residential torsion spring is wound to 7.5 to 8.5 full turns to achieve that torque. When the spring breaks or needs replacement, that stored energy has to be released in a controlled winding process. The tool for this is a pair of 18-inch steel winding bars inserted into the spring cone’s winding holes, one quarter-turn at a time. If the bar slips out of the cone mid-turn, the spring unwinds instantly and the bar becomes a projectile moving faster than a person can react.
This isn’t a theoretical risk. The Consumer Product Safety Commission tracks garage door injuries as a distinct category, and the American Society for Surgery of the Hand documents torsion spring injuries every year that result in amputations, fractures, and deep lacerations. The injuries follow a pattern: a novice uses makeshift winding bars, or the cone set screws weren’t tightened, or the wrong spring was installed for the door’s weight.
There’s also a specification problem. Torsion springs are sized by wire gauge, inside diameter, length, and wind direction. The wrong spring produces a door that’s too light (the opener strains and the cables slip) or too heavy (the spring is over-stressed and fails early). Spring suppliers sell a limited range of generic sizes, but matching the right spring to your specific door and opener configuration requires measuring the existing spring while it’s intact and accounting for the door’s exact weight.
This is where professional familiarity matters. A technician who works across LiftMaster, Chamberlain, Genie, Clopay, Amarr, Wayne Dalton, Craftsman, and Raynor installations sees the full range of door weights and spring configurations daily. That pattern recognition is what gets the right spring on the first visit, without the trial-and-error of a first-time DIY sizing attempt. If there’s one rule to take from this entire guide, it’s this: torsion springs are never a DIY project, no matter how many videos you’ve watched.
Garage Door Opener Repairs: What You Can and Can’t Do
Openers are the other half of the system, and the DIY line moves depending on what’s actually wrong.
DIY-Safe Opener Tasks
- Remote battery replacement: If the wall button works but the remote doesn’t, try a new battery before anything else. This is a 30-second fix.
- Sensor realignment: The photo-eye sensors at the bottom of either side of the door track have small LED lights. If one LED is steady and the other is blinking, loosen the wing nut, adjust the sensor angle until both LEDs are steady, and retighten. This fixes most “door reverses for no reason” problems.
- Limit switch adjustment: Most openers have plastic dials or digital controls to set the open and closed limits. If your door doesn’t close fully to the floor or opens past the header, small limit adjustments are in the manual and safe to do yourself.
- Force setting adjustment: The force dial controls how much resistance the opener pushes against before reversing. Adjust in small increments only, and test by running the door through a full cycle. If you have to crank the force up to make the door move, the problem is the door balance, not the opener.
Professional-Only Opener Tasks
- Gear assembly replacement: Legacy Chamberlain and Craftsman chain-drive openers use a plastic gear inside the motor housing that strips over time. Replacing it means opening the housing, dealing with a capacitor that holds residual charge, and recalibrating the limit and force settings afterward. The parts cost is low, but the diagnostic and recalibration effort is why this lands in the professional column.
- Motor replacement: If the motor runs but the door doesn’t move, the coupling or gear is stripped. If the motor doesn’t run at all, the logic board or transformer may be dead. Both diagnoses require a multimeter and opener-schematic familiarity.
- Full opener replacement: New opener installation involves mounting a motor unit, running the drive rail, and setting the travel limits and force curves specific to your door’s weight and spring system. This is a garage door opener repair in Irvine task that also crosses into installation territory, and a modern smart opener with Wi-Fi add-ons adds another setup layer.
The opener is a good example of why covering both the door and the drive system under one service call matters. When an Irvine homeowner calls about an opener that “suddenly stopped working,” the root cause is frequently a door spring that’s lost tension, putting double the load on the opener motor until the opener’s gear strips. Fixing the opener without fixing the door is a temporary fix. A technician who handles both halves of the system diagnoses the whole problem in one visit.
How Your Door’s Brand Affects the DIY Equation
Garage door brands are not interchangeable when it comes to parts and repair difficulty. The door you have changes what’s possible as a DIY project and what needs brand-specific knowledge.
Craftsman and Chamberlain openers share a parent company lineage, and their parts are widely available at retail. That’s a double-edged sword: availability makes DIY tempting, but the gear assemblies in these units are the most commonly mis-repaired component we see. The gear kit is cheap and the job looks simple on video, but the recalibration step is where the repairs fail. A door that opens three inches and reverses, or slams at the bottom, is the typical result of a “successful” gear replacement that skipped the travel-limit reset.
Raynor and Clopay doors use proprietary hinge and roller profiles on some lines, which means the universal replacement parts at the hardware store don’t fit correctly. A homeowner who buys a generic roller set for a Raynor door often discovers the rollers bind or the hinge pins don’t seat. These brand-specific fit issues are invisible until you’re mid-repair with the door off its rollers.
LiftMaster openers dominate Irvine’s newer construction and carry sophisticated logic boards with proprietary diagnostic codes. The wall console shows error codes that require the service manual to interpret, and the parts network for LiftMaster is tighter than for retail brands. Most LiftMaster repair work lands in the professional column simply because the diagnostic step alone requires brand-specific familiarity.
The common thread: the brand on your door or opener changes the parts landscape, the tool requirements, and the diagnostic path. Working on the brand you already own is exactly what a brand-familiar technician does, and it’s the single strongest argument for professional service on anything beyond basic owner maintenance.
Common Mistakes to Avoid
- Using makeshift winding bars on a torsion spring: Rebar, screwdrivers, and pry bars bend under spring torque and slip out of the cone. The spring unwinds in under a second and the bar becomes a projectile. This is the single most common cause of serious garage door DIY injuries.
- Replacing one spring when two are worn: Springs on a double-wide door wear at the same rate. If one breaks, the other is at the end of its cycle life too. Replacing only the broken spring leaves you with a mismatched pair and an unbalanced door that will fail again soon, often within a season in Irvine’s dry heat cycle.
- Adjusting an opener’s force setting to compensate for a tired spring: Crank up the force and the door moves, but you’re masking the real problem and overloading the opener’s gear. The failure moves downstream, and the eventual repair is more expensive than the spring replacement would have been.
- Ignoring the balance check because the door “still opens”: A door with a failing spring operates on borrowed time. The opener strains, the cables go slack on the way up, and the eventual spring snap often happens at the worst possible moment: door halfway open, car half out, with the family inside.
- Painting over panel damage to pass an HOA inspection: Cosmetic fixes don’t address structural panel damage, and Irvine HOAs with common-area oversight inspect for function, not just finish. The forced fix later costs more than addressing the panel properly the first time.
- Trying to fix a door off its tracks by “tapping it back in”: A door that’s jumped its track has usually done so because of a broken cable or a bent track section. Forcing it back onto the rollers under tension doesn’t fix the underlying problem, and it puts your hands directly in the pinch zone between the panel and the track.
See the difference
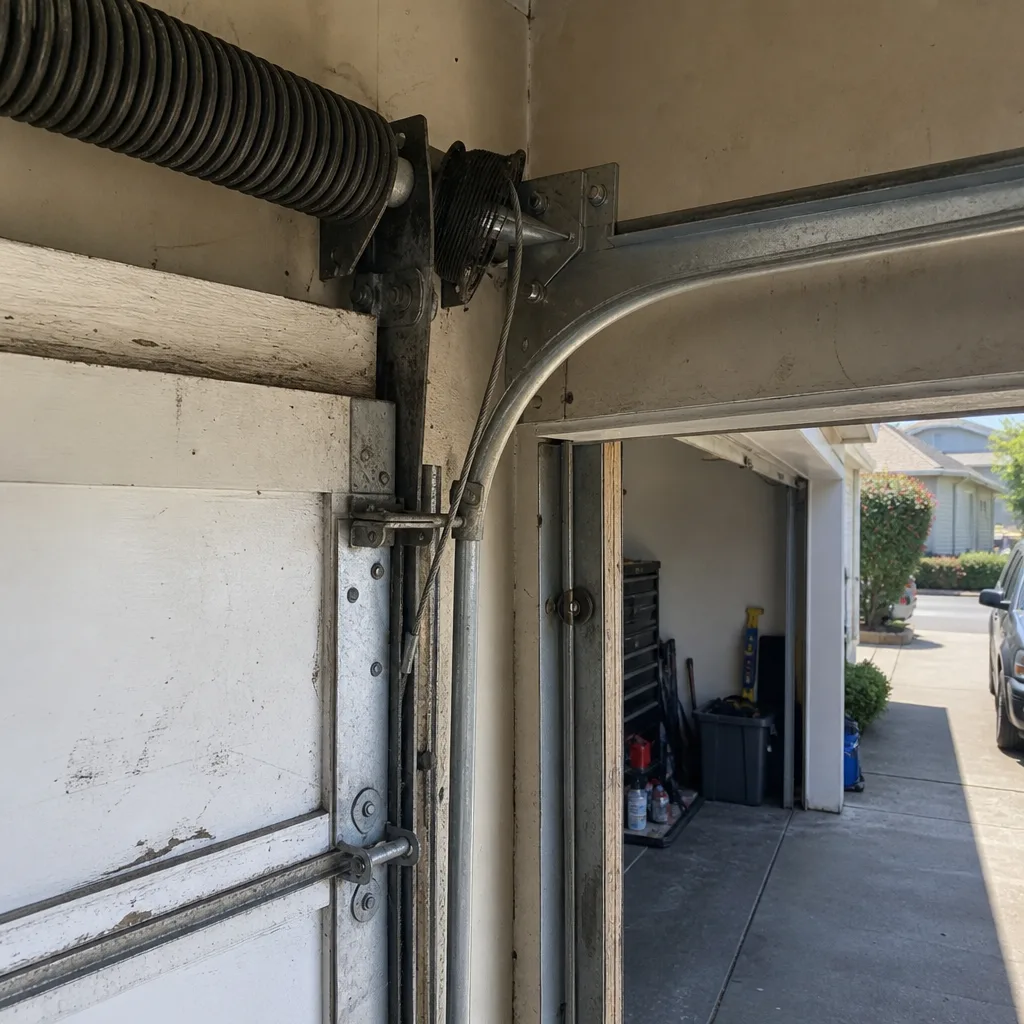 Before
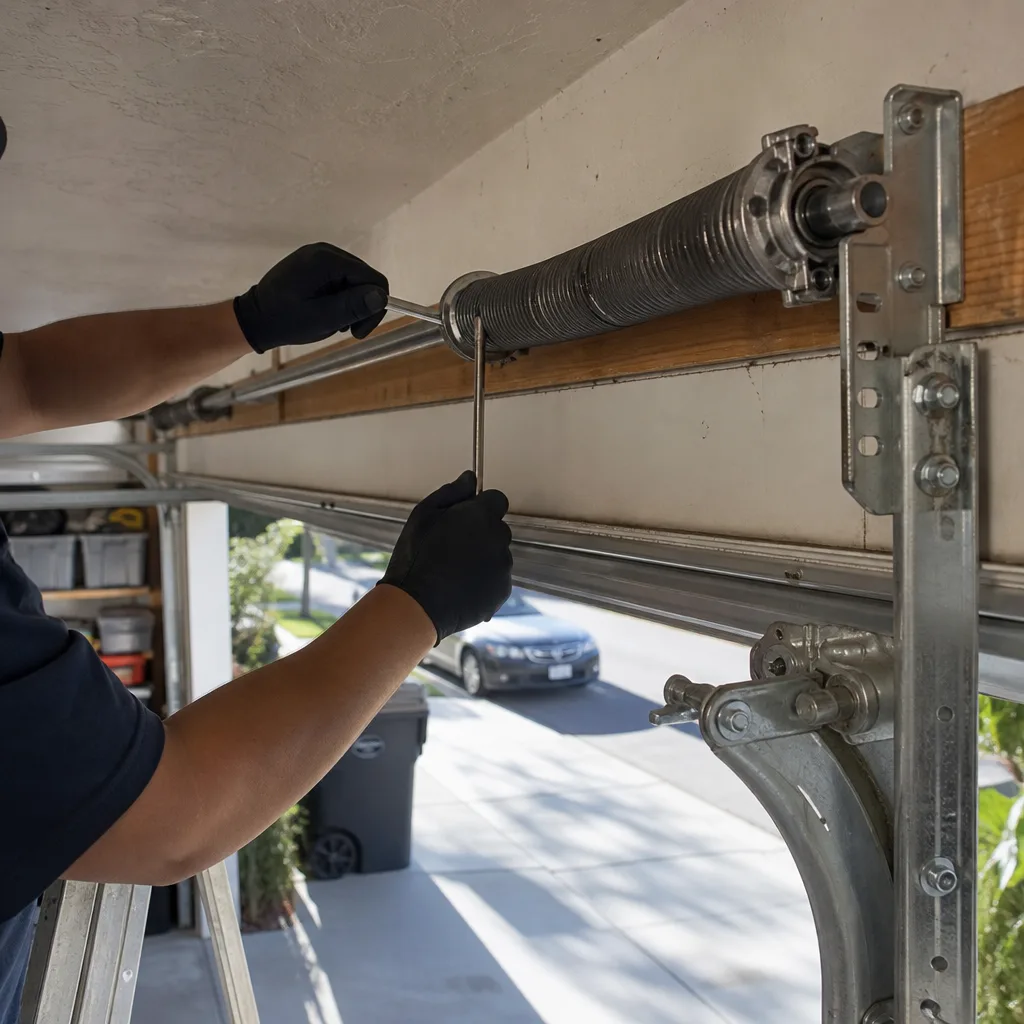 After
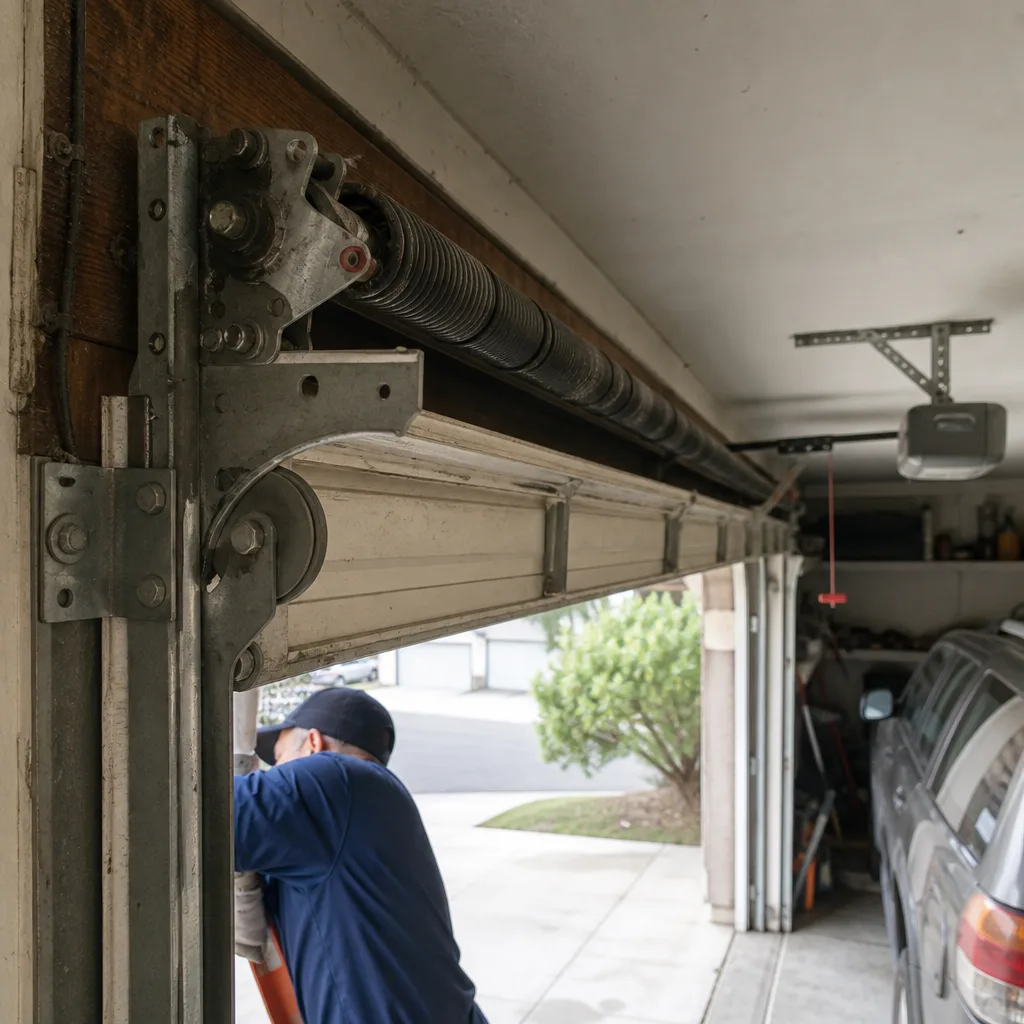 Before
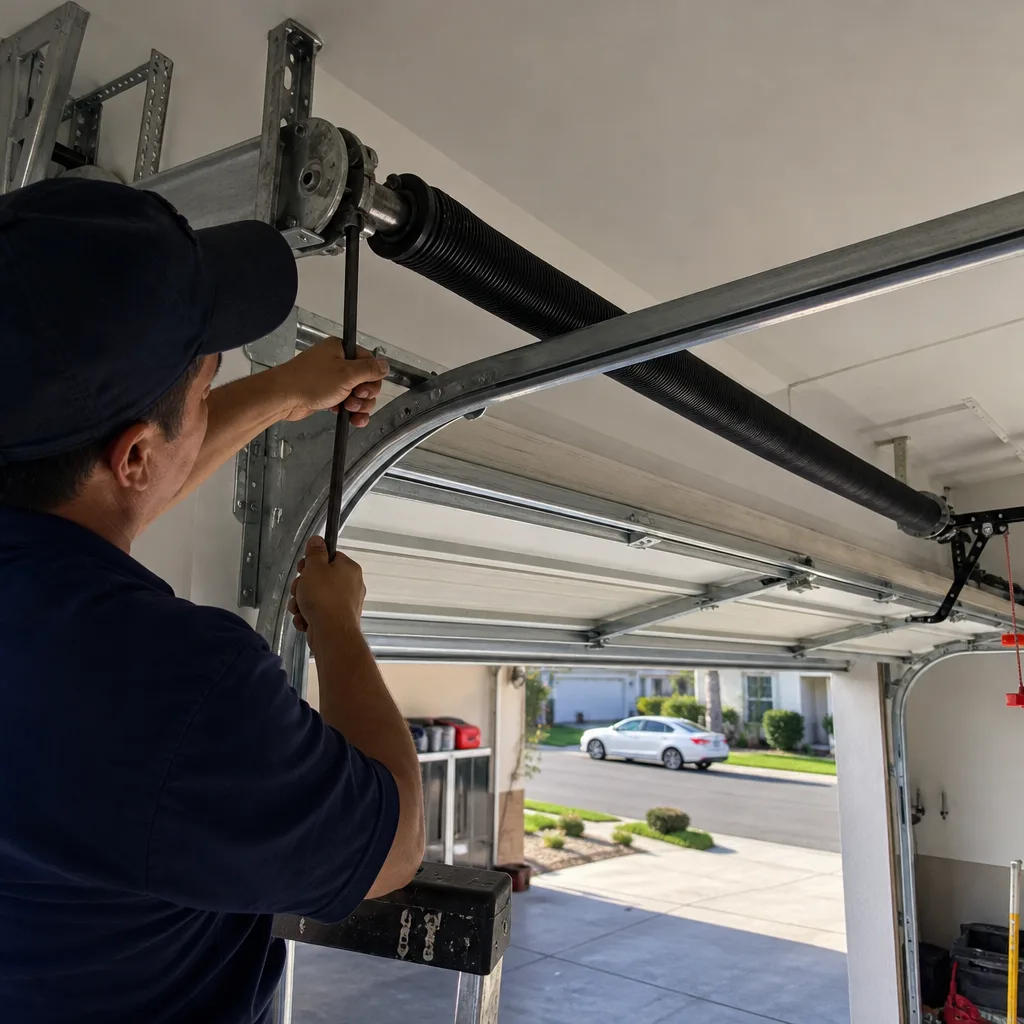 After
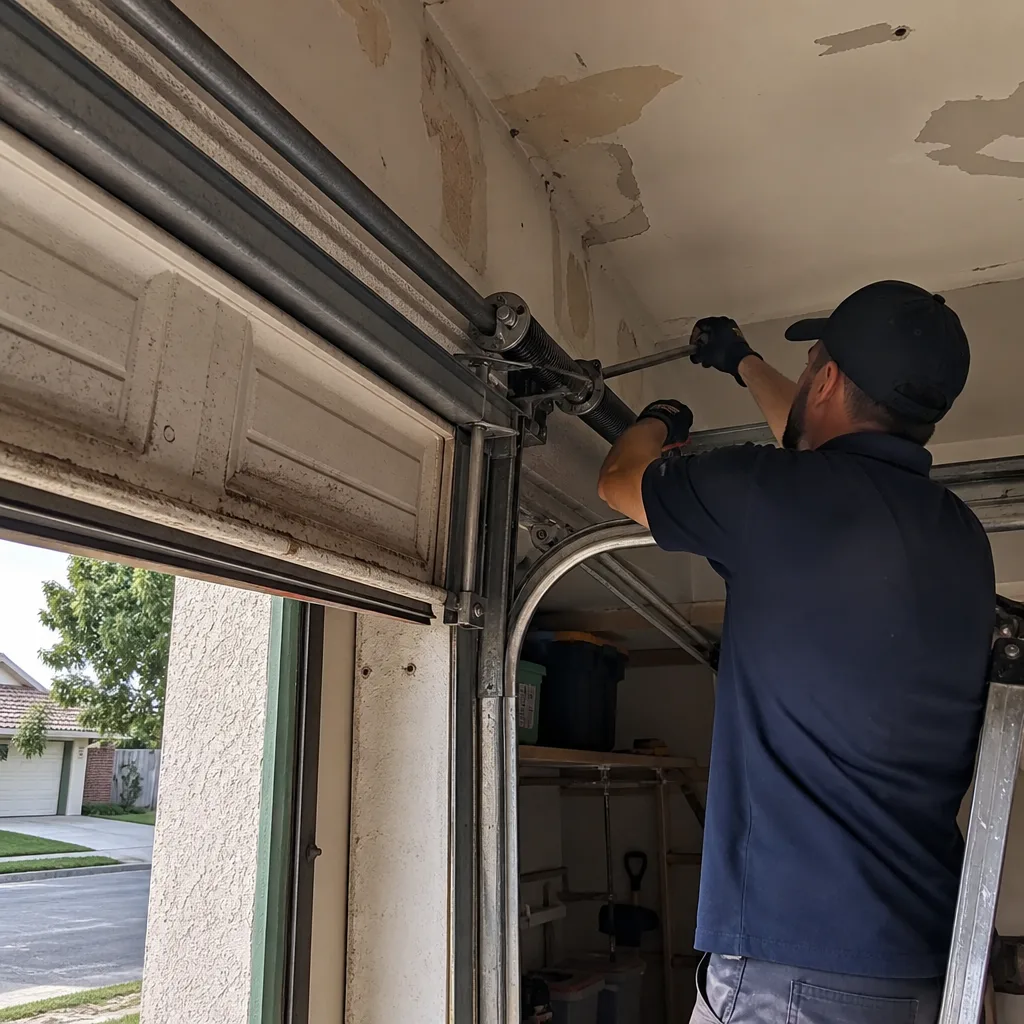 Before
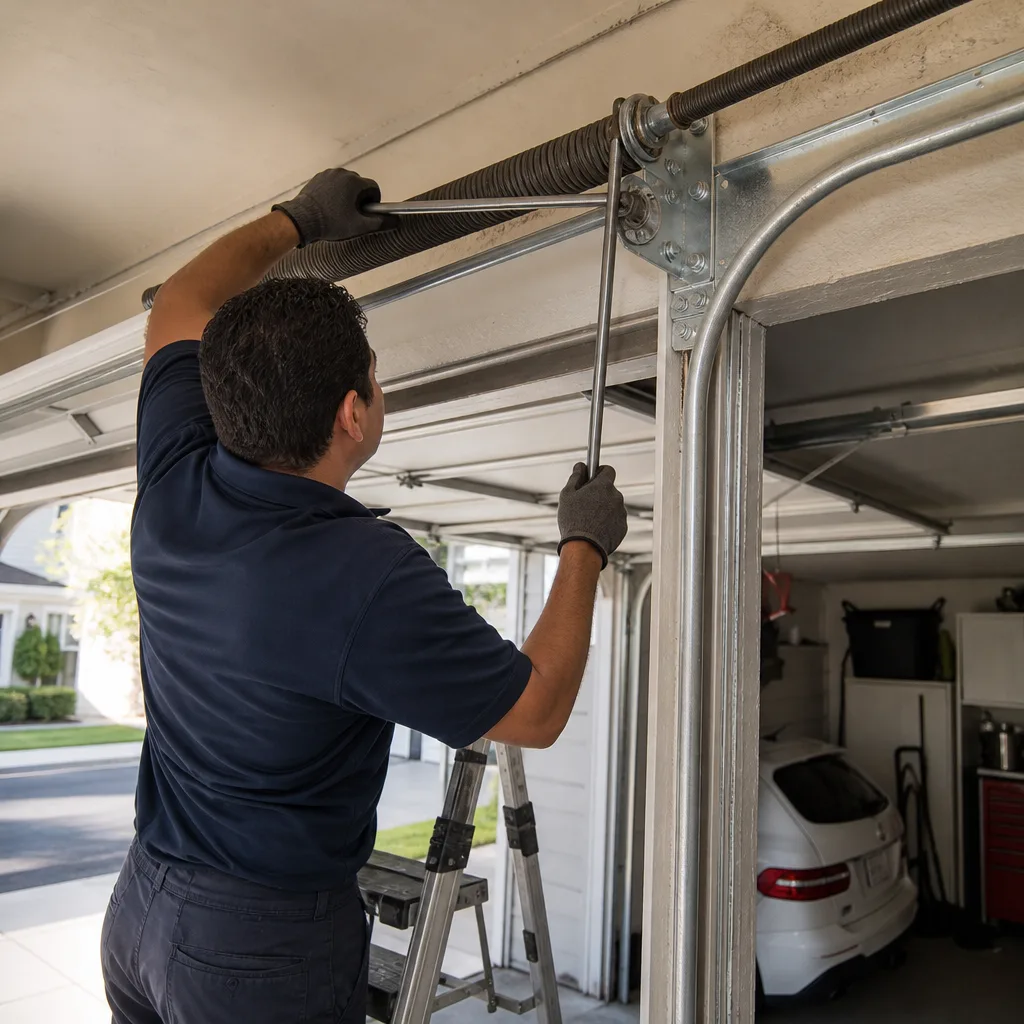 After
When to Call a Professional
Call a professional when the component you’re touching stores mechanical energy: torsion springs, extension springs, lift cables, and the opener’s internal drive assembly. Call when the job requires realigning or remounting anything that holds the door’s weight. Call when you’ve tried the DIY-safe fixes and the door still misbehaves, because the next diagnostic step requires experience and tools you don’t have. Call when your HOA requires documentation. And call when the door won’t open and your car is trapped inside, because that’s not a learning moment. Redstone Garage Door Repair offers free estimates in Irvine, covers both the door and the opener under one service call, and works on the brand you already own, not just the ones we stock. Call (855) 492-3366 and we’ll walk you through what’s happening over the phone before we ever schedule a visit.
Frequently Asked Questions
A single torsion spring replacement in Irvine typically runs $250 to $400, while a pair runs $350 to $550, depending on door weight and spring cycle rating. Cable replacement adds $180 to $300. Call (855) 492-3366 for an exact quote based on your door and spring specs. Estimates are free.
You physically can, but you shouldn’t. Torsion springs require specialized winding bars, exact spring sizing, and a controlled winding process that punishes mistakes instantly. The injury risk is real, the savings are modest once you buy the tools, and a failed first attempt costs more than calling a professional from the start.
Lubricating rollers, hinges, and tracks; replacing bottom weatherstripping; realigning photo-eye sensors; replacing remote batteries; and the monthly manual-release balance check are all safe DIY tasks. Any work involving springs, cables, tracks, or the opener’s internal gear assembly is professional territory.
It depends on your community’s CC&Rs and the door’s placement on the HOA’s maintenance matrix. Many Irvine HOAs, especially in attached-housing communities, require professional service records for warranty coverage and can charge back owner-caused damage from a DIY repair. Check your governing documents before attempting anything beyond basic maintenance.
Standard torsion springs are rated for 10,000 cycles, which translates to roughly 7 to 12 years of normal use for most Irvine homeowners. If your door is in the second half of that range and starts showing balance drift on your monthly check, budget for replacement before the spring snaps. Call (855) 492-3366 if you’re unsure where your springs are in their life cycle.
The most common cause is a stripped gear assembly inside the opener, especially on legacy Chamberlain and Craftsman units. A failed coupling between the motor and the drive rail produces the same symptom. This is a professional repair because the diagnostic step and recalibration require opener-specific knowledge. Contact us at (855) 492-3366 and we’ll identify the exact part over the phone.
The Bottom Line
Garage doors look simple, and that’s the trap. The visible parts hide the stored energy that makes the whole system work, and that energy is exactly what makes spring and cable work dangerous for anyone without training and the right tools. What an Irvine homeowner should do themselves: lubricate, inspect, test, and replace weatherstripping. What an Irvine homeowner should not do themselves: wind a torsion spring, replace a cable, realign a track, or open an opener motor. The savings from DIY spring work disappear once you buy the tools and factor in the risk. A professional visit costs more than a spring kit from the hardware store, but it costs less than the average failed DIY attempt, and it doesn’t carry the hospital-bill variable. The monthly balance check is free, takes 90 seconds, and catches most failures before they happen. Start there, and call when it tells you something’s off. For more guides & resources, visit our blog.. You’ll spend less over the life of the door, and you’ll keep the dangerous work where it belongs: with someone who does it every day.
Written by the team at Redstone Garage Door Repair, serving Irvine since 2015.