

Last updated October 31, 2026
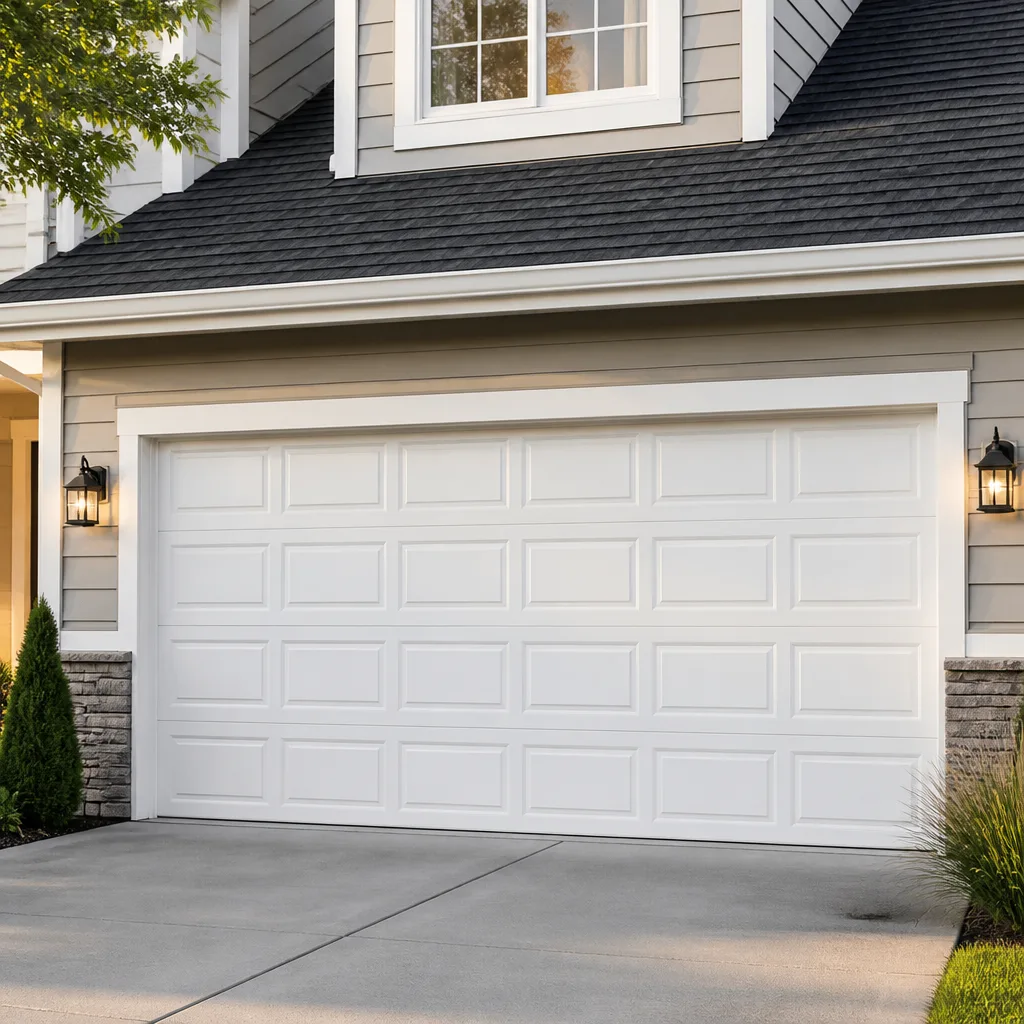 Raised-panel steel
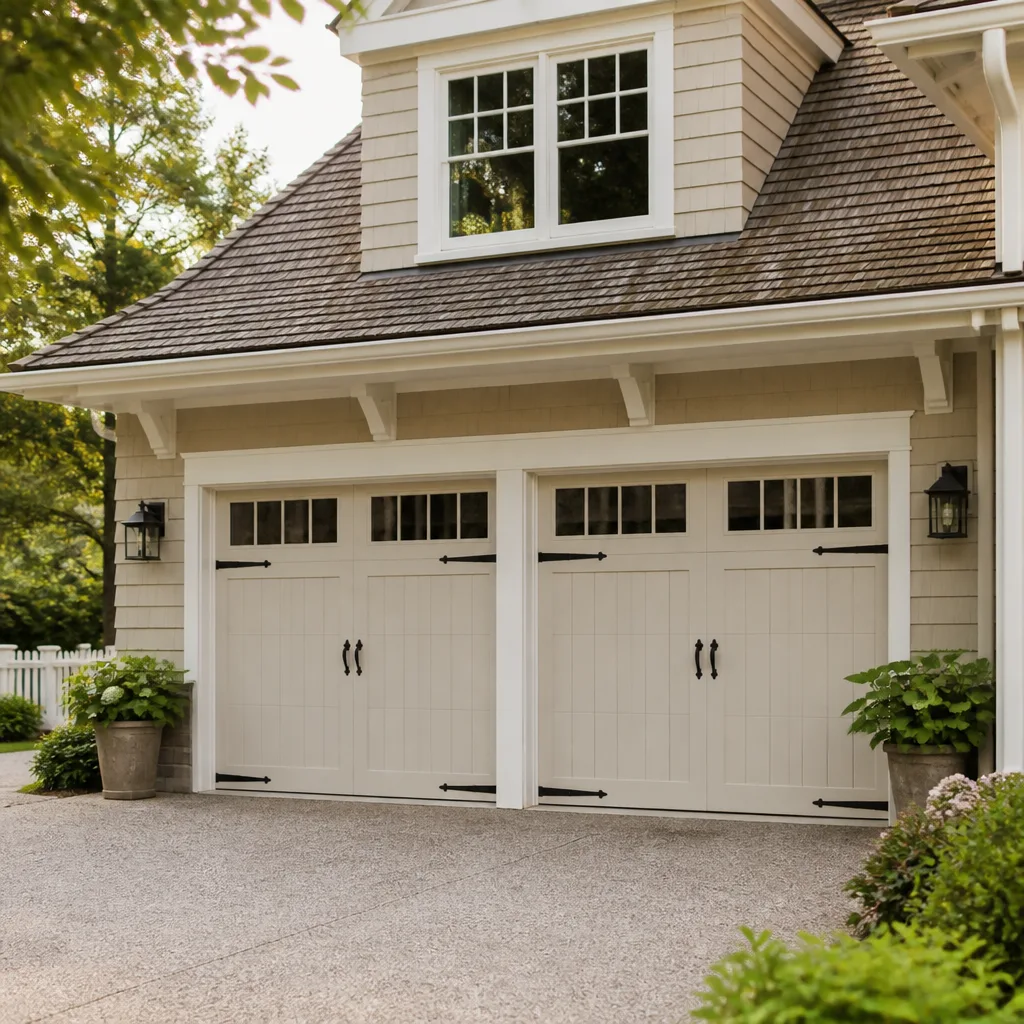 Carriage house
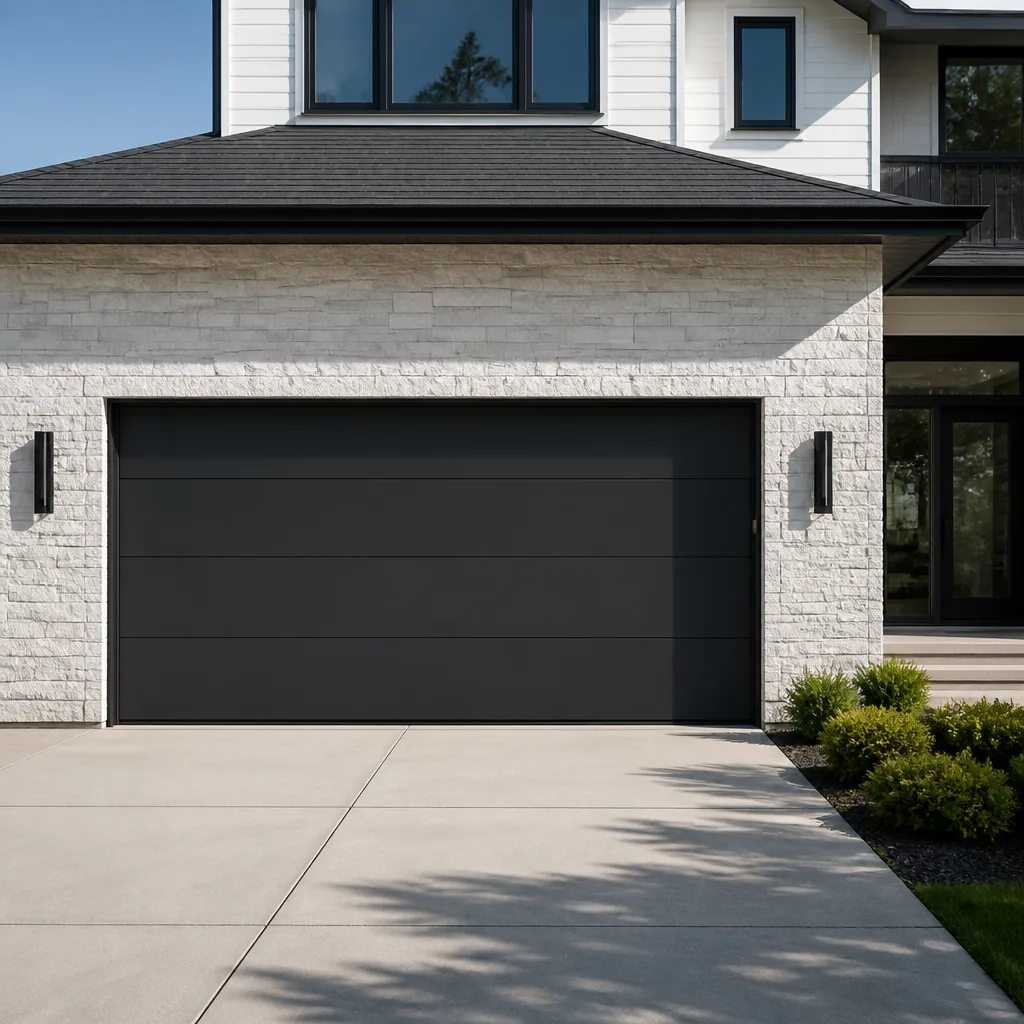 Modern flush
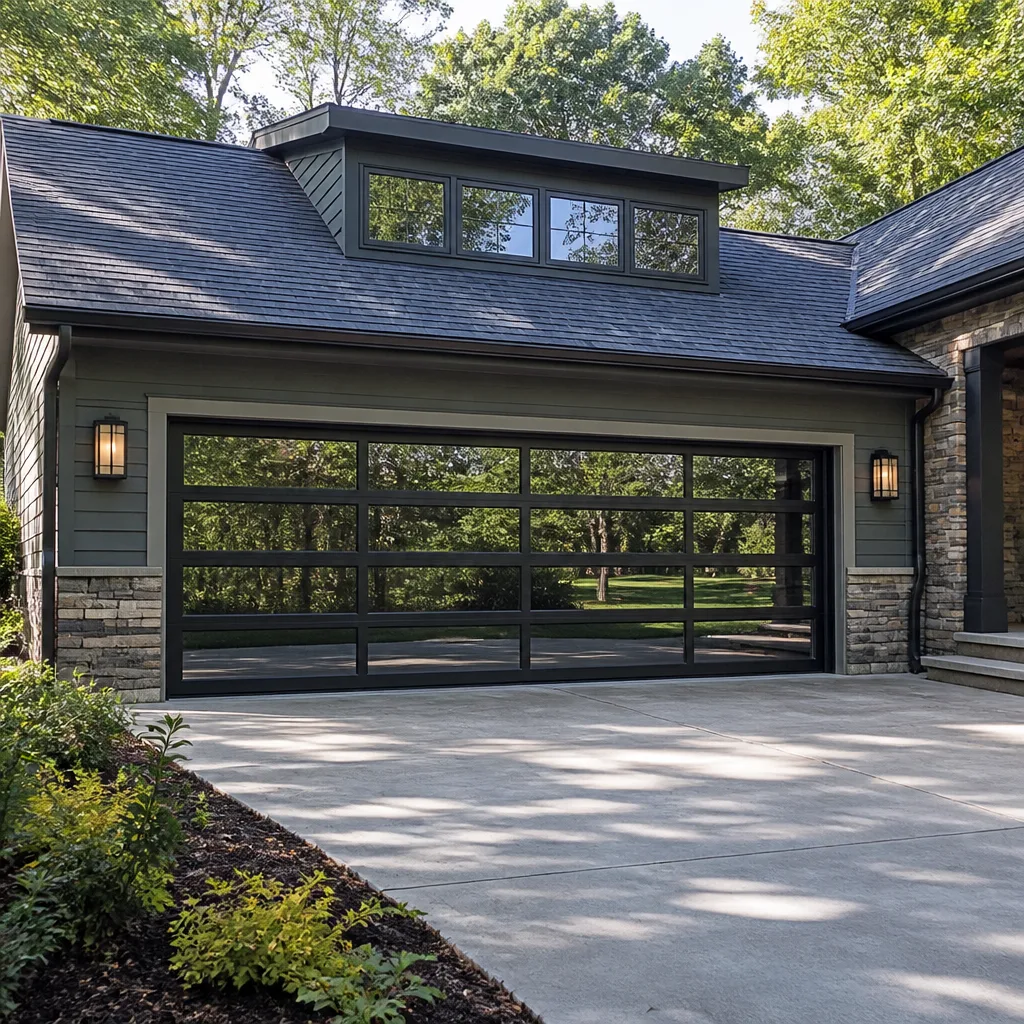 Full-view glass
 LiftMaster openers
 Chamberlain openers
Full 25-point door and opener safety check with every visit - springs, cables, rollers, tracks, and your LiftMaster or Chamberlain opener included
You get a price before we start. It does not change when the truck arrives.
Get your free estimateGarage Door Repair Troubleshooting: Common Problems and How to Fix Them
The single most expensive mistake homeowners make with garage doors isn’t skipping maintenance. It’s misdiagnosing a symptom. We’ve watched Irvine residents replace entire openers when the real problem was a $7 battery in a wall button, and we’ve seen people order new circuit boards because a spider web was blocking a sensor lens. This guide is built around diagnosis first, because the sequence of checks matters as much as the fix itself. You’ll learn how to confirm what’s actually wrong before touching anything, which problems are safe to handle yourself, and which three symptoms mean you should step away from the door and call a technician who works on our Garage Door Repair services in Irvine every day.
Styles & brands we work with
Quick Answer
Garage door repair troubleshooting starts with observing the exact symptom, not guessing at the cause, as covered in our Garage Door Warning Signs: A Irvine Homeowner’s Reference Guide. Most failures trace to one of five culprits: dead remote batteries, misaligned safety sensors, broken torsion springs, worn rollers, or opener logic board faults. You can safely rule out the first two in under five minutes with visual checks and fresh batteries. Anything involving spring tension, cable routing under load, or the door coming off its track is a job for a trained professional, because those components store enough energy to cause serious injury.
Table of Contents
- Symptom-First Diagnostic Matrix: Match the Behavior to the Likely Cause
- Safety-First Inspection: What You Can Check Visually Without Releasing Tension
- How to Read Opener Error Codes: LiftMaster, Chamberlain, Genie, and Craftsman
- The Five-Minute Rule-Out: Dead Batteries, Misaligned Sensors, and Locked Wall Buttons
- Spring and Cable Problems: What the Symptoms Tell You
- Track and Roller Issues: Noise, Binding, and Uneven Movement
- Three Symptoms That Mean Stop Immediately and Call a Professional
- Common Mistakes to Avoid
- When to Call a Professional
- Frequently Asked Questions
- The Bottom Line
Symptom-First Diagnostic Matrix: Match the Behavior to the Likely Cause
Every garage door problem presents as a specific behavior. The door won’t open at all. The door opens halfway and stops. The door closes and immediately reverses. The door makes a grinding noise. The door opens fine but won’t close. Each of these behaviors points to a different short list of likely culprits, and checking them in order of probability saves you from buying parts you don’t need. Here’s the matrix we use on service calls across Irvine, organized by what you’re actually seeing.
Door Won’t Open at All
If the door doesn’t move when you press the wall button or remote, the most likely causes are, in order: a disconnected opener (pulled the emergency release cord by accident), a dead remote battery or wall-button battery, a tripped circuit breaker, or a failed opener logic board. Before calling anyone, check the breaker and try the wall button. If the wall button works but the remote doesn’t, you’ve isolated the problem to the remote. If neither works and the opener has power, the logic board may be the issue. Redstone technicians carry boards for LiftMaster, Chamberlain, Genie, and Craftsman openers on the truck, which means a board swap often happens the same day rather than after a parts order.
Door Opens Partially, Then Stops
A door that lifts six inches, a foot, or halfway before stopping usually indicates a spring problem or a track obstruction. When a torsion spring breaks, the opener suddenly has to lift the full weight of the door, and its force settings are calibrated for a balanced door. It stops to prevent motor damage. Alternatively, something is physically blocking the track path. In our experience across Irvine homes, partial opening during cooler months often traces to spring fatigue, while partial opening in any season can also mean a roller has come out of the track.
Door Reverses Before Closing
This is the symptom misdiagnosed more than any other. Homeowners assume the opener is failing. In most cases, the safety sensors near the bottom of the door are misaligned, dirty, or receiving direct sunlight interference. The sensors communicate via an infrared beam. When that beam breaks, the opener refuses to close as a safety measure. Cleaning the lens and realigning the units fixes this in about 90 seconds and costs nothing. If the door still reverses after sensor checks, the next likely cause is a track obstruction, then the close-force setting, then a failing logic board. The opener itself is rarely the actual problem.
Door Makes Grinding or Squealing Noise
Grinding usually means metal-on-metal contact. That points to worn rollers, a dry or failing bearing, or a chain that needs tensioning. Squealing often comes from rollers that have lost their lubrication or from the opener’s drive mechanism. If the noise is rhythmic and matches the door’s movement speed, it’s typically a roller issue. If the noise comes only from the opener unit, check the drive chain or belt. Genie and LiftMaster openers use different drive systems, and the correct maintenance differs by brand and model.
Door Opens Fine but Won’t Close
When opening works normally but closing fails, the safety sensors are the first suspect, followed by the close-force setting, and then the logic board. Some openers also have a wall-button lock feature that disables the closing circuit, which is one of the most common issues we find on Craftsman and Chamberlain systems in Irvine. A quick check of the lock icon on your wall button rules that out in seconds.
Safety-First Inspection: What You Can Check Visually Without Releasing Tension
You don’t need to touch anything under tension to gather useful diagnostic information. Most of what we learn on a service call comes from looking, not handling. The key is knowing what to look for and what each visual clue means. None of the following steps require releasing spring tension, removing cables, or reaching into the opener’s mechanical path. If any of these observations point to a spring or cable problem, that’s a call to a professional, not a DIY project.
Spring Inspection by Sight
Stand inside the garage with the door closed and look up. You’ll see either a long spring running horizontally above the door connected to a shaft (torsion spring) or two springs running along the tracks on either side (extension springs). What you’re checking for: a visible gap in the coils of a torsion spring. A broken torsion spring typically separates into two pieces with a clear two-to-four-inch gap. That gap means the spring is no longer under tension. Do not attempt to reconnect or adjust it. A torsion spring under even partial tension stores enough force to break bones. If you spot a gap, you’ve confirmed the problem, and the fix is a professional spring replacement.
For extension springs, look for a spring that’s stretched, separated at the end, or visibly longer than its partner. Both extension springs should look identical. If one looks different, it has failed or is about to.
Cable Inspection by Sight
Look at the cables that run along the door’s sides and wrap around drums near the top. You’re checking for fraying, which shows up as stray wire strands, or a cable that looks loose while the other looks taut. A frayed cable is a failure waiting to happen, and when it snaps, the door can fall unevenly. A loose cable often means a drum has slipped or a spring issue is affecting cable tension. None of these conditions should be handled by a homeowner. Cables carry tension from the springs, and the same danger rules apply.
Roller and Track Inspection by Sight
With the door closed, run your eyes along each track from top to bottom. Look for gaps between the track and the wall, bends, or misalignment where the vertical meets the horizontal curve. Rollers should sit fully inside the track channel. A roller that’s partially out signals a serious problem that needs immediate attention. Also check for worn roller wheels; nylon rollers with flat spots or cracked edges should be replaced. This is one of the most common repairs we perform on doors of every brand across Irvine, from Wayne Dalton to Raynor systems.
Balance Test Without Releasing Tension
Pull the emergency release cord only if the door is fully closed. With the opener disconnected, manually lift the door to waist height. A properly balanced door stays in place at waist height. If it drops, the springs are weak or broken. If it rises, the springs are over-tensioned. Perform this test gently and expect the door to be heavy if springs are compromised. If the door is hard to lift at all, stop and call a technician. A door with failed springs can weigh 150 to 400 pounds depending on size and material, and lifting it repeatedly risks injury.
How to Read Opener Error Codes: LiftMaster, Chamberlain, Genie, and Craftsman
Modern garage door openers diagnose themselves. The blinking pattern or numeric code on the opener unit isn’t random, it’s a specific error code pointing to a specific fault. Reading it correctly saves time, and misreading it leads to replacing parts that weren’t broken. Here’s what the codes mean on the major brands we service in Irvine, translated into plain language.
LiftMaster and Chamberlain Error Codes
LiftMaster and Chamberlain share the same underlying technology, so their codes match. The opener’s LED or diagnostic display blinks in a pattern, and the number of blinks between pauses tells you the fault.
- 1 blink: The safety sensors are misaligned or blocked. This is the most common code we see on Irvine service calls. Check sensor alignment and lens cleanliness.
- 2 blinks: The safety sensors are misaligned or something is blocking the beam intermittently. Same fix as one blink, but indicate a problem that comes and goes, which often points to sunlight interference on west-facing Irvine garage doors in late afternoon.
- 3 blinks: The door control or wall button wiring has a short or is disconnected. Check the wiring at the wall button.
- 4 blinks: The safety sensors are misaligned or blocked on the closing cycle only. This often means the door itself is binding.
- 5 blinks: The motor is overheating or the RPM sensor is faulty. Give the opener 15 minutes to cool, then retry.
- 6 blinks: The motor circuit has failed. This typically requires a new logic board or opener.
Genie Error Codes
Genie openers use a similar LED blink system, with some models showing a red and green light combination.
- One red blink, pause, repeat: Sensor misalignment. Realign the sensors.
- Two red blinks: The door is obstructed or the force setting needs adjustment.
- Three red blinks: The opener’s internal circuit board has a fault.
- Four red blinks: The motor has a fault or the RPM sensor is failing.
- Solid red light with no green light: The sensors have no power, which usually means a wiring break.
Craftsman Error Codes
Craftsman openers manufactured in the last two decades use a diagnostic system similar to LiftMaster and Chamberlain, since many Craftsman units are built on Chamberlain platforms. The LED blink patterns mirror the LiftMaster codes above. Older Craftsman models without LED diagnostics require observing the opener’s behavior directly: if the opener clicks but doesn’t run, check the capacitor; if it runs but the door doesn’t move, check the drive gear, which is a common wear item on Craftsman chain-drive units we replace frequently in Irvine homes.
The value of reading the code correctly is avoiding guesswork. A five-blink overheat code doesn’t mean you need a new motor. A one-blink sensor code doesn’t mean you need a new logic board. When you know what the code says, you fix the right component the first time.
The Five-Minute Rule-Out: Dead Batteries, Misaligned Sensors, and Locked Wall Buttons
Before you spend money on parts, spend five minutes ruling out the free fixes. A meaningful share of “broken opener” complaints we hear from Irvine homeowners turn out to be one of three things: a dead battery, a misaligned sensor, or a wall button that’s been locked. These are the checks to run, in order, before doing anything else.
Step 1: Replace Remote and Wall Button Batteries
Open the remote case and replace the battery with a fresh one, even if the current battery looks fine. Do the same for the wireless wall button if your opener uses one. Battery failure is the single most common cause of a remote that does nothing while the wall button still works. If the wall button is battery-powered and dead, it will also prevent the opener from responding. A new battery costs a few dollars and eliminates a variable immediately.
Step 2: Check the Sensor Lenses
Look at the two safety sensors mounted near the floor on either side of the garage door opening. Each has a small lens. Wipe both lenses with a dry cloth. Leaves, spider webs, dust from Irvine’s dry summers, and even a film of garage grime can block the infrared beam. One disrupted beam and the opener will refuse to close the door, or in some configurations, refuse to open it as well.
Step 3: Verify Sensor Alignment
Watch the indicator lights on both sensors. On most openers, both sensors should show a solid LED, typically green on one and amber on the other. If one light is blinking, flickering, or off, the sensors are out of alignment or the wiring is loose. Loosen the wing nut holding the sensor bracket, gently adjust the sensor until the light turns solid, then retighten. If you can’t get a solid light, check that the wiring connections on the back of each sensor are snug.
Step 4: Check the Wall Button Lock Feature
Many openers, including most LiftMaster, Chamberlain, and Craftsman models, have a lock feature on the wall button. It’s designed to disable remote operation while leaving the wall button functional for security purposes. When the lock is engaged, remotes won’t work. Look for a lock icon on the wall button. If the lock light is on or the lock icon is illuminated, press and hold the lock button for a few seconds to disengage it. This single step fixes a surprising number of “remote doesn’t work” complaints.
Step 5: Confirm Power to the Opener
Check that the opener is plugged in securely and that the outlet works. A tripped GFCI outlet or a loose plug is another common culprit. If the opener is on a circuit with other devices, the breaker may have tripped. Reset the breaker and retry the door. If the opener still doesn’t respond and you’ve completed the previous steps, the issue is likely internal to the opener and calls for a technician who can test the logic board, as explained in our How to Hire a Garage Door Contractor in Irvine: A Step-by-Step Guide.
If all five checks pass and the door still misbehaves, you’ve ruled out the easy stuff. That’s useful information. When a technician from Garage Door Opener Repair in Irvine arrives, they can start at the next level of diagnosis instead of repeating what you’ve already done.
Spring and Cable Problems: What the Symptoms Tell You
Springs do the real lifting. The opener only guides the door; it doesn’t carry the full weight. When springs weaken or break, the opener’s motor strains against a load it wasn’t designed to handle. That’s why spring problems often masquerade as opener problems. Here’s how to tell the difference.
Torsion Spring Failure
Torsion springs are mounted horizontally above the door, centered on a metal shaft. They’re rated for a set number of cycles, typically 10,000 to 20,000 depending on the spring’s quality. Each open-and-close counts as one cycle. Over time, the spring metal fatigues. In our experience, Irvine homes with two-car doors that are used four to six times a day reach the 10,000-cycle mark in seven to ten years. When the spring fails, it usually breaks with a loud bang that homeowners describe as a gunshot or a car backfiring. If you heard that sound and the door now won’t lift more than a few inches, you have a broken torsion spring. The repair is a spring replacement, and both springs should be replaced together even if only one broke, because the surviving spring has the same cycle count and will fail soon.
Extension Spring Failure
Extension springs run parallel to the tracks and stretch to provide lifting force. They’re more common on older doors and some Wayne Dalton and Raynor models. When one fails, the door often hangs unevenly or opens crooked. A failed extension spring may also leave the door visibly tilted when partially open. Safety cables running through the spring are important: if your extension springs don’t have safety cables installed, a spring failure can send the broken spring flying across the garage. That’s an injury risk, and the fix is a spring replacement plus safety cable installation if needed.
Cable Fraying and Slipping
Cables work with springs to lift and lower the door evenly. When a cable frays, individual strands peel away from the main cable, and the cable’s strength drops. A cable that snaps under load can cause the door to fall, and a falling garage door is one of the most dangerous household failures. If you see fraying, replace the cable before it fails. Cable replacement requires releasing spring tension, which is firmly in the professional-only category. A cable that has slipped off the drum causes uneven lifting and visible slack on one side, which is also a professional repair.
One pattern we see in Irvine’s newer neighborhoods: doors installed during construction get used heavily during move-in months, then settle into a regular cycle count. Homeowners who moved in five or six years ago are now hitting the first major spring replacement window. Checking your springs visually once a year tells you where you are in that cycle.
Track and Roller Issues: Noise, Binding, and Uneven Movement
Rollers and tracks guide the door. When they wear or misalign, the door binds, scrapes, or moves unevenly, and the opener works harder than it should. The good news: most roller and track problems are visible without disassembling anything.
Worn Rollers
Rollers wear out in two ways. The wheel flattens or develops flat spots, which creates a rhythmic thumping as the door moves. Or the bearing fails, which creates squealing, rattling, or grinding. Nylon rollers are quieter than steel and standard on most modern doors, but they still wear. We replace worn rollers on doors of every brand across Irvine, and it’s one of the most effective noise reductions available. If your door sounds like a train, the rollers are the first thing to check.
Track Misalignment
Tracks should be vertical on both sides, then curve smoothly to horizontal. A track that’s been bumped by a car, a trash can, or a moving box can shift enough to pinch the rollers. The symptom is usually uneven movement or a door that sticks partway. You can check alignment by eye: stand at the back of the garage and sight down each track. Both tracks should look parallel and straight. Minor misalignments can sometimes be adjusted by loosening the track brackets and realigning, but significant misalignment or a track that’s pulled away from the wall indicates structural stress and may require professional repair. If the track is visibly bent or kinked, it needs replacement rather than adjustment.
Unbalanced Door
An unbalanced door moves faster on one side, or the whole door drifts to one side when closing. This points to a spring issue, a cable issue, or a track alignment problem. The balance test described earlier helps isolate it. A door that consistently pulls one direction is telling you something about the load distribution, and correcting it early prevents compounding damage to rollers, tracks, and the opener itself.
Lubrication Points
Garage door maintenance in Irvine’s dry climate includes regular lubrication. The metal rollers, hinges, and bearing plates benefit from a white lithium grease or silicone spray. Chain drive openers need chain lubrication. Belt drive openers don’t. Avoid using WD-40 on garage door parts; it’s a solvent, not a long-term lubricant. A properly lubricated door runs quieter and extends roller and hinge life. This is a maintenance step most homeowners can safely perform, and it’s one of the simplest ways to keep your system running well between professional service visits.
If your door is making noise that has developed over time, a Garage Door Repair in Irvine visit can identify which component is causing it. Noise diagnostics are fast, and the fix is usually a roller or hinge replacement, not a major overhaul.
Three Symptoms That Mean Stop Immediately and Call a Professional
Most garage door problems allow you time to investigate. These three don’t. If you see any of them, stop using the door and call a professional before the next operation. The door is a large moving object under significant energy load, and these symptoms indicate that the safety mechanisms have been compromised.
Symptom One: The Door Falls When Closing or Drops When Released
If your door drops from the fully open position instead of lowering smoothly, or if it falls noticeably when you pull the emergency release, the springs have failed or lost tension. A falling door can weigh several hundred pounds and can injure or kill a person or pet in its path. The door should stay put at any position when properly balanced. If it doesn’t, stop using the opener, keep people and animals away, and call for immediate service.
Symptom Two: A Cable Is Frayed, Loose, or Off the Drum
When a cable shows visible fraying or has slipped off its drum, the load distribution is compromised. The remaining cable is carrying more than its rated share of the door’s weight, and a snap under tension can send metal flying. The door can also fall suddenly if the second cable fails. Cable work involves releasing and re-tensioning spring force, which is one of the most dangerous procedures in residential repair. This is not a visual-check-and-handle situation. Leave it alone and call a technician who does this work regularly.
Symptom Three: The Door Has Come Off Its Track or a Roller Has Escaped
A door that’s partially off its track is unstable. The rollers that remain in the track are carrying unusual loads, and the sections can shift unpredictably. Attempting to operate the door in this state can cause it to fall, damage the tracks further, or bend panels beyond repair. If you can see that a roller has come out of the track or that the door is sitting at an angle against the frame, stop immediately. A professional can assess whether the door can be reset or needs structural repair.
In each of these cases, the door is the heaviest moving object in your home, and it’s no longer under the control systems designed to keep it safe. That’s the threshold for professional intervention, and it’s the reason every responsible guide, this one included, draws a hard line at these symptoms. For more guides & resources, explore our blog.
Common Mistakes to Avoid
- Skipping the battery check before calling for service. We’ve arrived at Irvine homes where a remote battery replacement fixed the entire problem. It takes 30 seconds to rule out and avoids a service fee for something you can do yourself.
- Assuming a reversing door means a bad opener. Reversing is a safety response, and the trigger is usually a misaligned sensor, not a failed motor or board. Diagnose the sensor first.
- Replacing only one spring when both are at the same cycle count. The surviving spring will fail soon, and you’ll pay for a second service visit and another labor charge. Replace springs in pairs on a torsion system.
- Using the wrong lubricant on moving parts. Penetrating oils and degreasers wash out the grease that rollers and hinges need. Use white lithium or silicone products designed for garage door use.
- Continuing to use a door that’s off its track or has a frayed cable. Every additional cycle increases the chance of sudden failure. The door is unstable, and the next operation could be the one that drops it.
- Ignoring the balance test because the door still opens. An opener that’s straining against a weak spring is burning through its motor life. Checking balance once or twice a year catches spring fatigue early.
- Guessing at a opener replacement when the door hardware is the problem, or vice versa. The door and the opener are two systems that must work together. Replacing the wrong one leaves you with the original symptom and a new component that didn’t need replacing.
When to Call a Professional
You can handle battery replacements, sensor cleaning, lubrication, and visual inspections on your own. You should not handle spring work, cable work, track resets, or any repair that involves releasing or re-tensioning stored energy. If your troubleshooting points to a torsion spring, extension spring, cable, drum, or a door that’s come off its track, call someone who does this daily. The risk of serious injury outweighs any potential savings. Redstone Garage Door Repair offers free estimates in Irvine. We work on the brand you already own, from LiftMaster and Chamberlain openers to Wayne Dalton and Raynor doors. Call (855) 492-3366 and we’ll diagnose the problem over the phone, then send a technician who carries the parts to fix it right the first time.
Frequently Asked Questions
Your garage door opens but won’t close most often because the safety sensors are misaligned, dirty, or blocked. The opener’s safety system prevents closing when the infrared beam between the two sensors is interrupted. Check the sensor lenses for dirt, realign them until both indicator lights show solid, and verify nothing is stored in the beam’s path. If the door still won’t close after sensor checks, test the close-force setting and check for a lock feature on the wall button. For recurring close failures on your specific system, call (855) 492-3366 and we’ll diagnose it accurately.
Garage door repair costs in Irvine vary by the part and the extent of the damage. A roller or sensor alignment is a minor repair, while a spring replacement or logic board swap is a more involved job. The truth is that the price depends entirely on what’s actually wrong, which is why we diagnose before we quote. You’ll know the cost before any work starts, and you’ll agree to it before we begin. For a free estimate on your specific problem, call (855) 492-3366.
No. You should not replace a garage door spring yourself. Torsion springs in particular store enough energy to cause severe injury or death if mishandled, and they require specialized winding bars and precise tension adjustment. Extension springs also carry significant force. Spring replacement is the repair where homeowners are most likely to get hurt, which is why this is a job for a trained professional with the right tools. We replace springs on every brand of overhead door in Irvine, and we handle both springs on a torsion system to keep the door balanced.
A loud bang when your garage door closes usually means a torsion spring has snapped. The spring is under maximum tension when the door is closed, and failure releases that energy suddenly, producing a sound often described as a gunshot or a car backfiring. After a spring break, the door typically won’t open more than a few inches because the opener can’t lift the full weight alone. If you heard a bang, stop using the door and call for spring replacement. We answer calls on this problem regularly from Irvine homeowners, and we can walk you through what you’re seeing before we arrive.
We recommend an annual inspection and lubrication for most garage doors in Irvine. The dry climate tends to dry out lubricant faster than humid regions, and the temperature swings between Irvine’s warm days and cool nights can accelerate metal fatigue on springs. An annual check catches worn rollers, fraying cables, and weakening springs before they become breakdowns. If your door is used more than five times a day, twice a year is worth considering.
That depends on which system has failed and the condition of the other. If the door itself is mechanically sound and the opener has failed, replacing the opener is the right call. If the door’s panels, springs, or tracks are worn and the opener is newer, the door may be the better replacement. We evaluate both systems together because they work as a unit, and we give honest recommendations based on your specific setup and budget, not on what we happen to stock. For help deciding, call (855) 492-3366 and we’ll walk through your options.
The Bottom Line
Troubleshooting a garage door is about matching symptoms to causes in the right order. Check the free and easy things first: batteries, sensors, wall-button locks, and power. Visual inspections of springs, cables, and rollers will reveal most mechanical problems without touching anything under tension. Read your opener’s error codes as a diagnostic, not a mystery. Know that spring, cable, and track-off failures are professional-only repairs, and they’re the ones where continuing to operate the door is genuinely dangerous. When you’ve isolated the problem and it requires a technician, Redstone Garage Door Repair handles the door and the opener together, on the brand you already own, for homeowners throughout Irvine. If you’d like a second set of eyes or a free estimate, call (855) 492-3366. You can also start with our Redstone Garage Door Repair home page to see our full service range, or explore Garage Door Installation in Irvine if your system has reached the point where replacement makes more sense than repair.
Written by the team at Redstone Garage Door Repair, serving Irvine since 2015.
See the difference
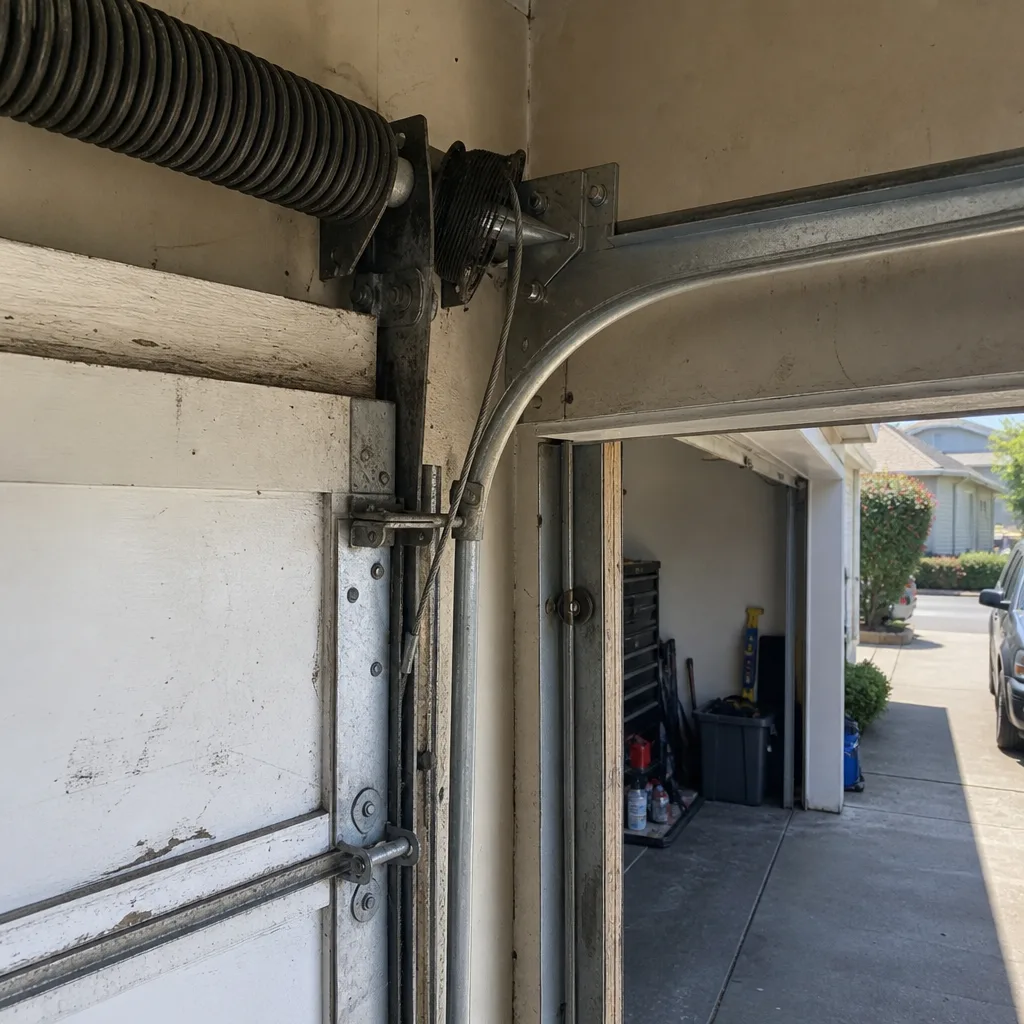 Before
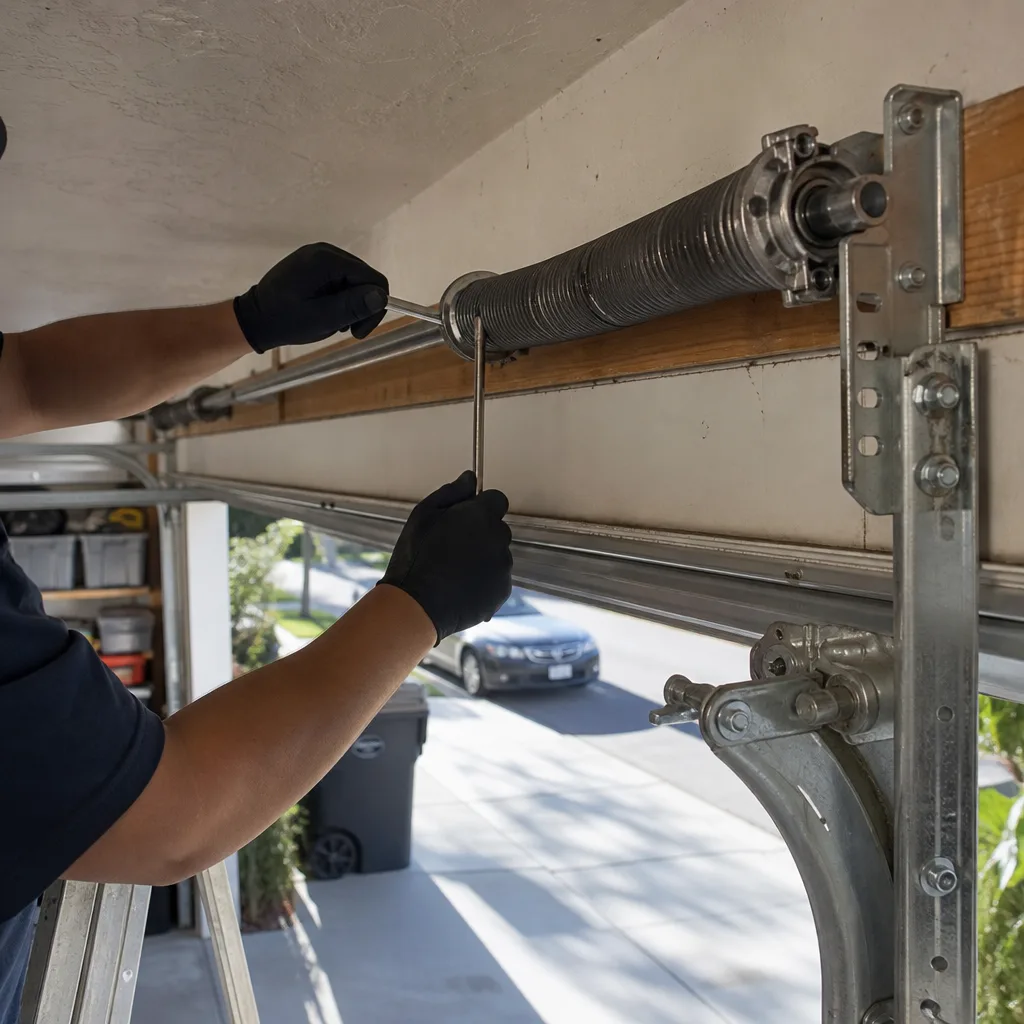 After
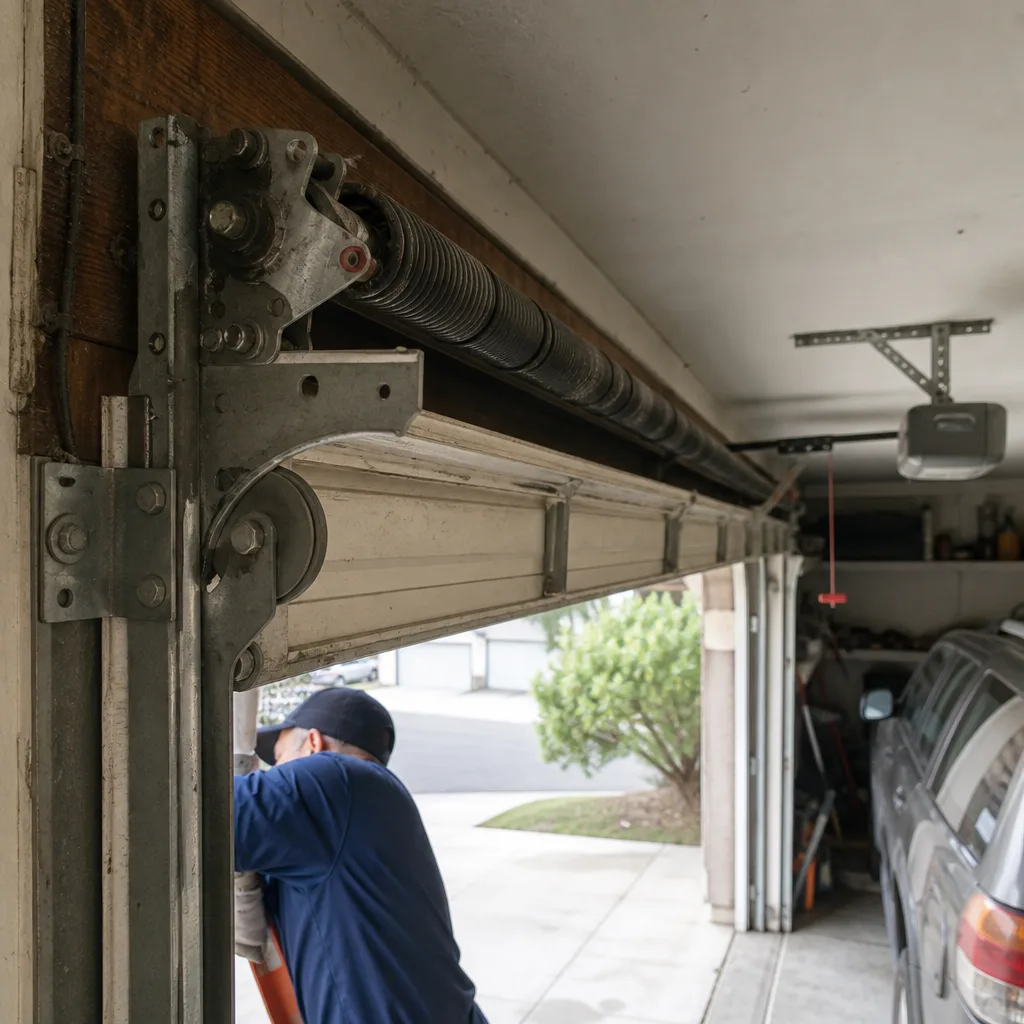 Before
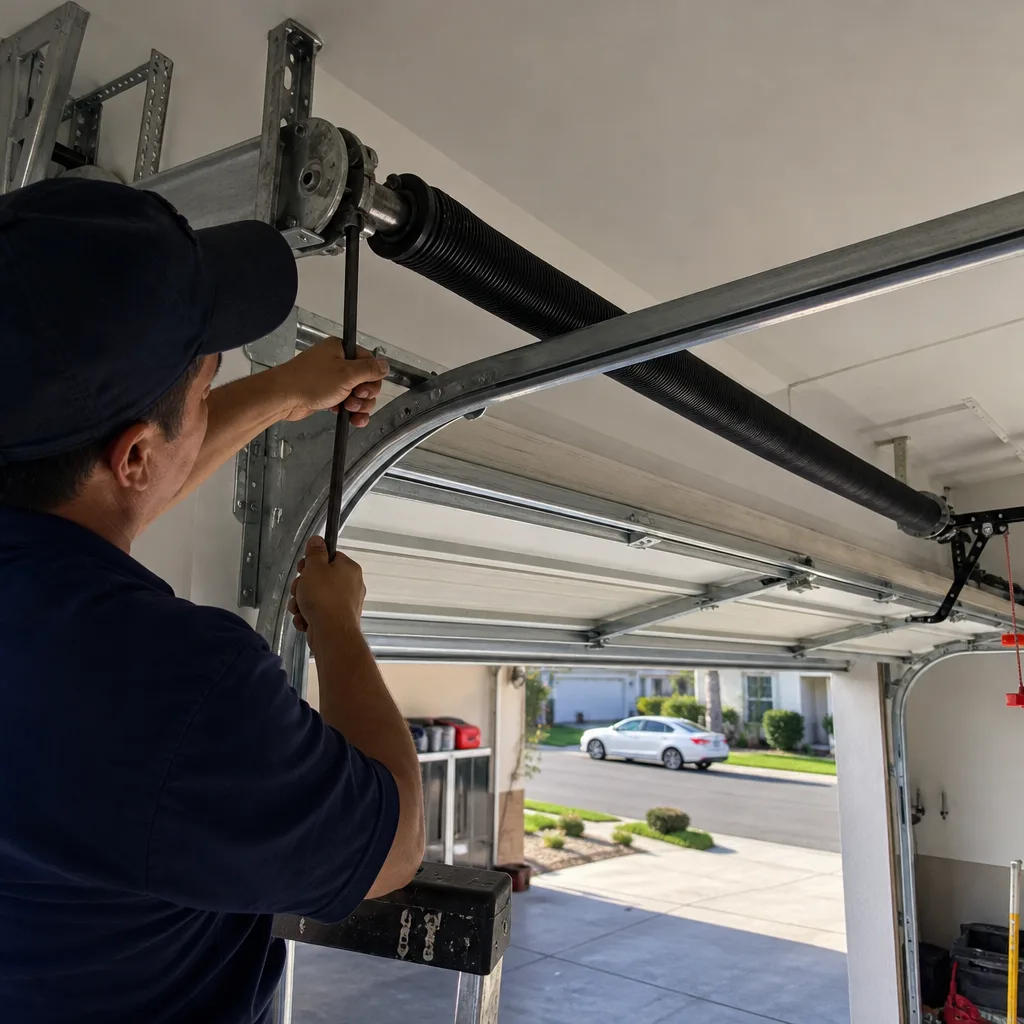 After
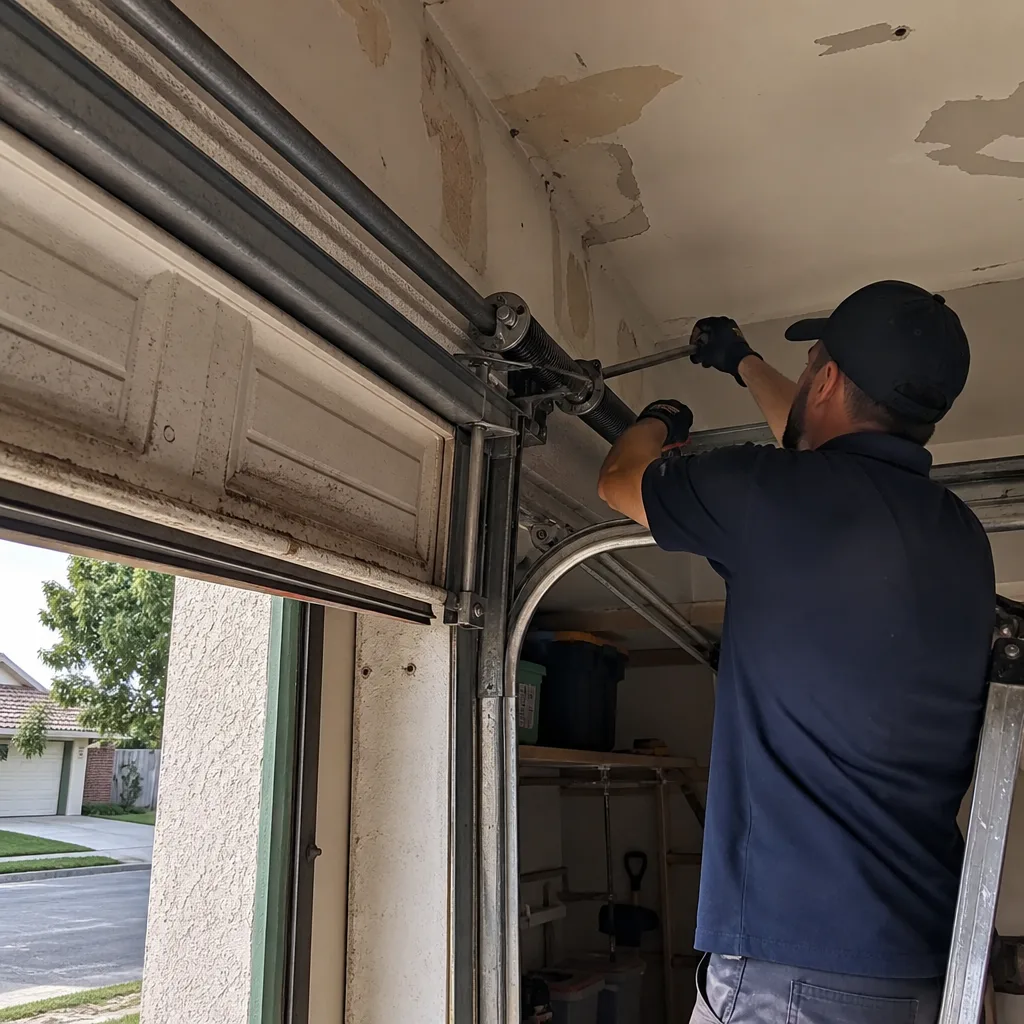 Before
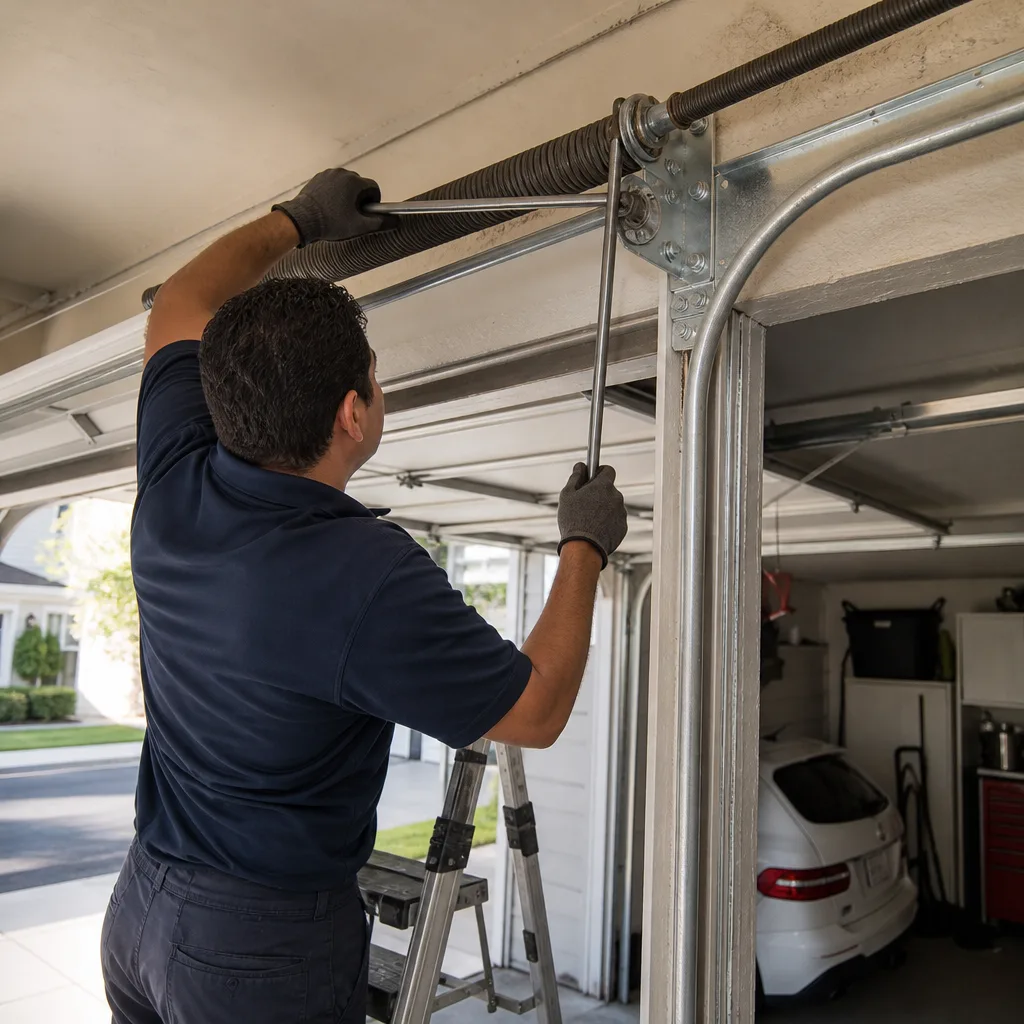 After